Packraft trail: the ultimate guide to getting started in a day
 By Thibault
Discover the packraft trail: the ultimate guide to hiring, choosing the right kit and setting off with confidence from your very first day on the water.
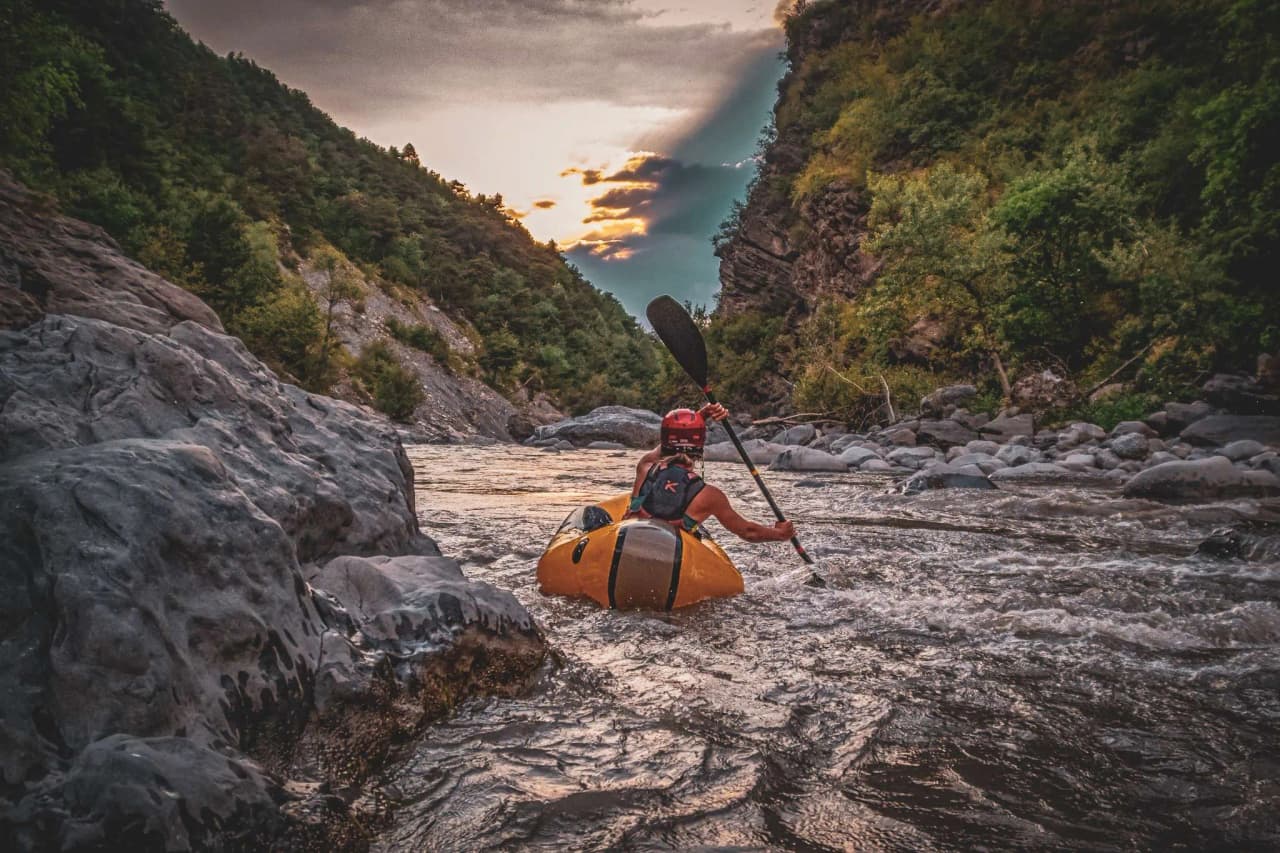
You’re 20 metres from the shore, taking your first few paddle strokes… and you realise straight away: either your boat veers off course or it heads straight ahead. That’s what packraft trail is all about: a short trip that’s very easy to organise, where you carry a compact inflatable boat in your rucksack, then switch from walking to paddling as soon as you find the best spot.
The catch is that ‘simple’ doesn’t mean ‘without questions’. Which stretch of water should you choose for your first time? What do you need to check when hiring equipment (paddle, lifejacket, inflation bag, watertightness)? And what limitations of the packraft might catch you out when there’s a breeze or a bit of chop?
This guide provides a clear method to ensure your first day is a success: understanding what a packraft is really for, avoiding classic beginner’s mistakes, planning an easy loop with a Plan B involving walking, and setting off with the right level of safety. If you want to learn more quickly and set off with peace of mind, guiding outings in small groups with certified guides, such as those offered by Wildhartt, can also save you time right from your very first session.
What is a packraft (and what is it actually for)?
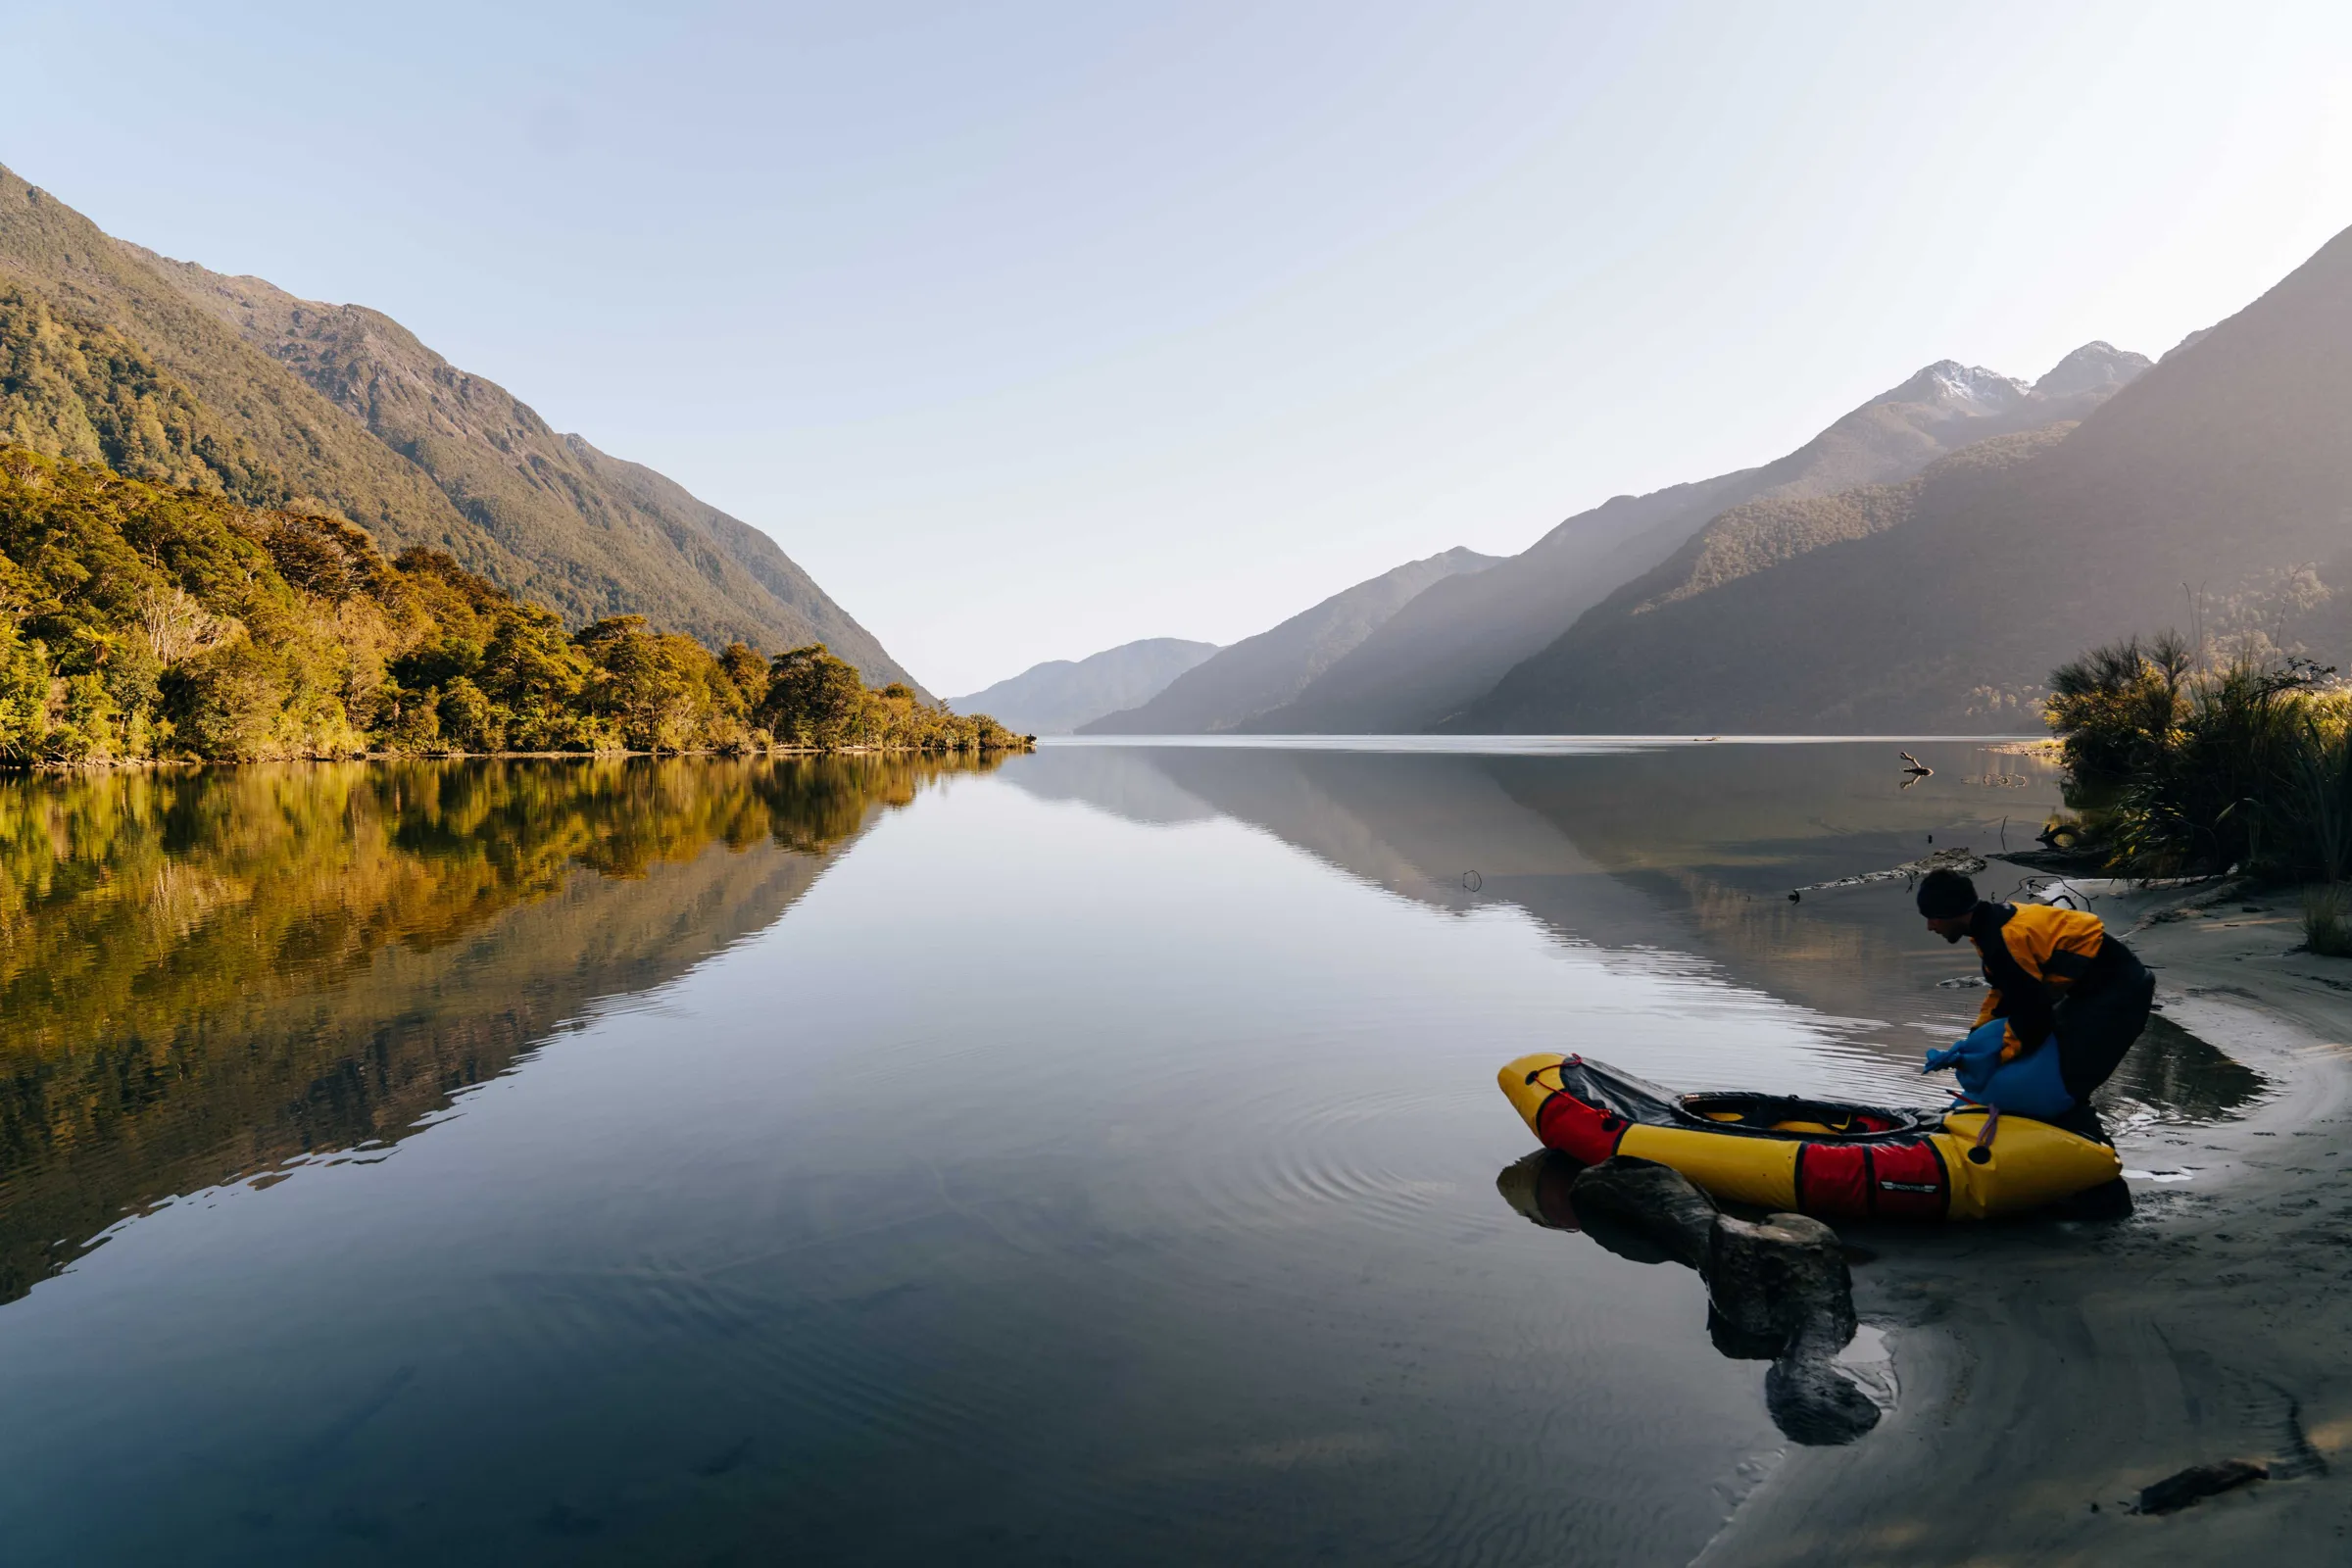
Whether you’re setting off independently or with a guide, the first question is always the same: what exactly are you taking out on the water? A packraft is a small, very lightweight inflatable boat, designed to be carried in a rucksack and launched in a matter of minutes. In packraft trail touring, the idea is simple: to alternate between walking and paddling along the same route, without the need for shuttle arrangements or having to carry a large boat.
In practical terms, a packraft is used to cross or navigate bodies of water where a rigid kayak becomes a hassle: lakes, calm rivers, canals, sheltered fjords, or easy sections of a mixed route. Most models are inflated using an inflation bag (a ‘pump bag’), and are then paddled just like a kayak. You gain mobility on foot, but lose speed on the water compared to a sea kayak.
Typical uses for a packraft trail (with examples)
The best scenarios for beginners are those where the water is ‘forgiving’ and the route is straightforward to navigate.
- Packrafting on a lake: a loop with an easy launch, a nearby bank, and the option to turn back if the wind picks up. Ideal for learning to paddle in a straight line, managing your balance, and adjusting the seat.
- Calm river (Class I): a wide stretch with a slow current and few obstacles. You can practise your line, anticipate the current, and get in and out of the bank without any stress.
- Mixed ‘hike + crossing’ route: walking along a trail, crossing a lake or a sheltered stretch of sea, then back onto the trail. This is the textbook example of packraft trail travel, especially when a crossing avoids a long detour.
A good rule of thumb: if you can explain the route in a single sentence and have a Plan B for walking, the packraft becomes a very accessible tool for adventure.
Why choose packraft trail over an inflatable kayak?
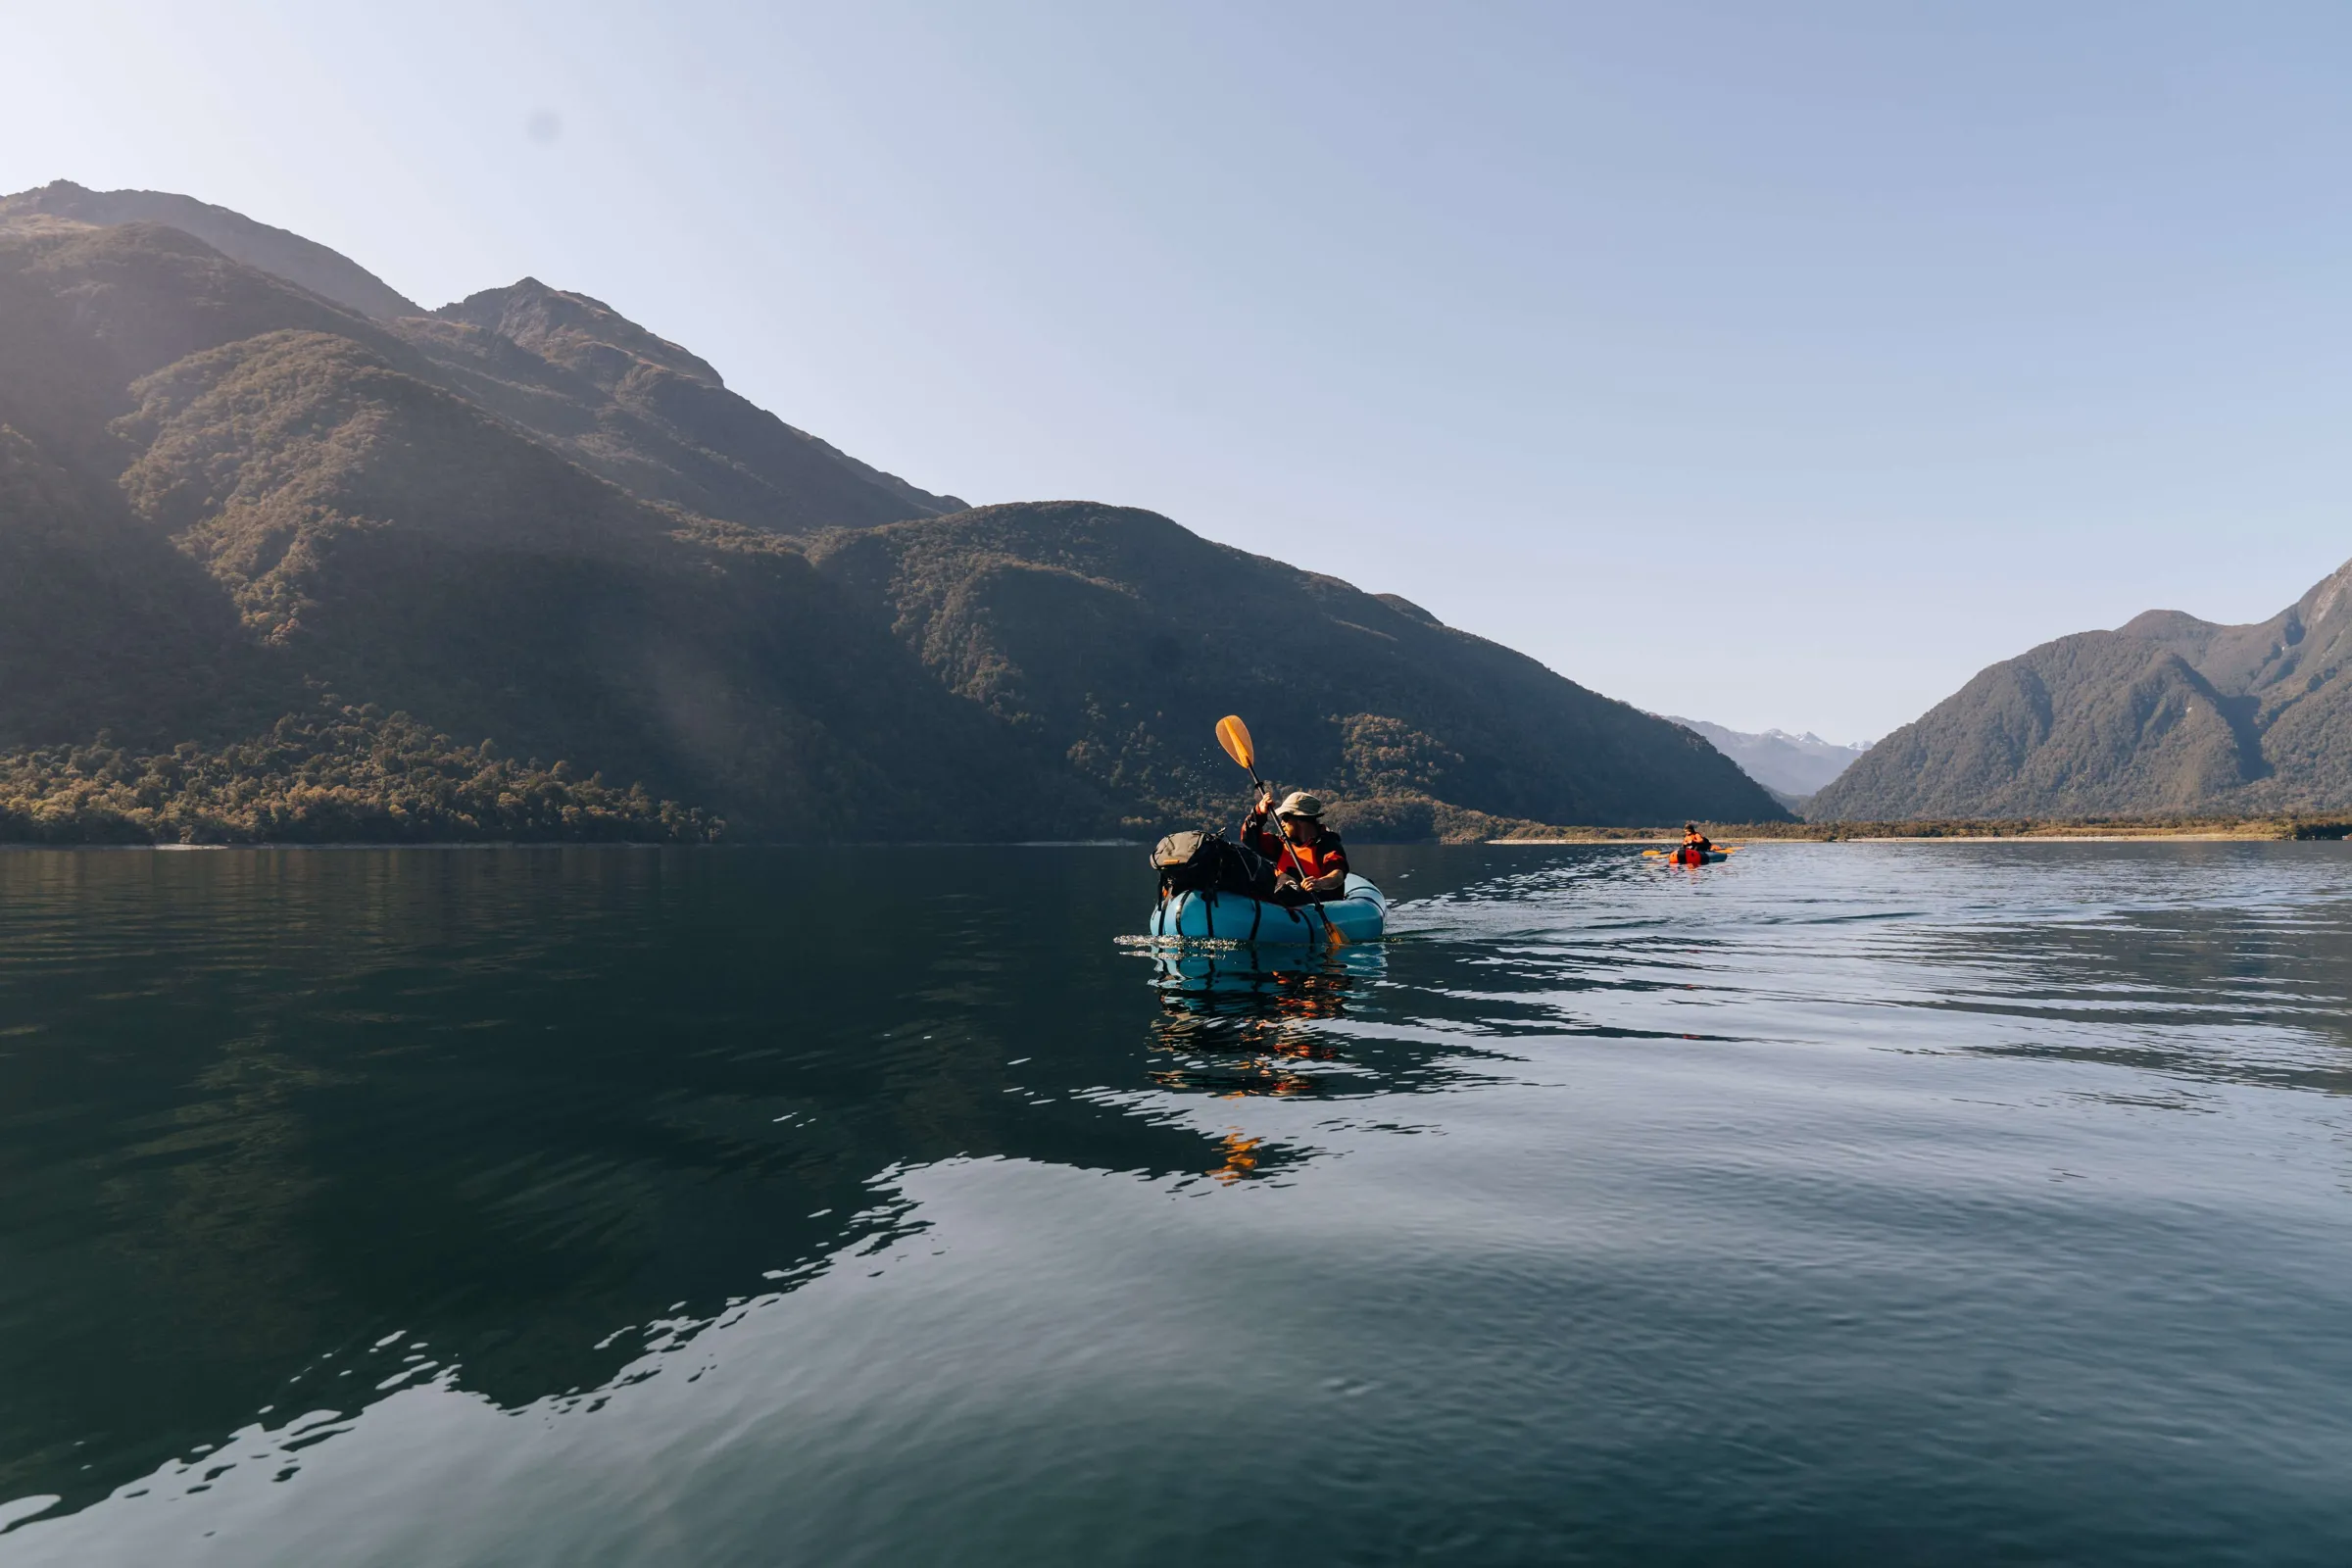
When you’re looking for a simple outing, with a Plan B on foot, the choice of craft makes all the difference. With packraft trail, you carry your craft on your back, then paddle wherever it shortens the route. An inflatable kayak and an inflatable SUP (stand-up paddleboard) can do the same on the water, but they often complicate the ‘trail’ part.
| Criteria | Packraft trail | Inflatable kayak | Inflatable SUP |
|---|---|---|---|
| Portage (walking) | Very suitable, designed for a rucksack | Often bulkier, larger bag | Can be carried, but the board is long and less practical |
| Launching and inflation | Quick with an inflation bag, few accessories | Takes longer, pump and accessories required more often | Pump almost always required, high air volume |
| Stability for beginners | Stable when seated, low centre of gravity | Stable depending on the model, takes a bit longer to manoeuvre | Stable on flat water, sensitive to choppy conditions |
| Speed and efficiency | Average, designed for long-distance paddling | Often better on lakes, as it is longer | Varies; tiring more quickly when standing |
| Wind and drift | May drift, but low profile helps | Often drifts less, better course-holding | Significant drift, especially when standing |
| Cold water | Seated, more exposed to splashes, suitable clothing | Seated, sometimes ‘drier’ depending on the cockpit | Very exposed, cools down quickly |
Choose a packraft if your day involves a mix of walking and paddling, if you want to move from a trail to the water without any extra kit, and if you’re happy with a moderate speed. An inflatable kayak is a good option if your aim is to paddle for long periods on a large lake with less drift and better efficiency.
The right choice for your trip
- Mixed route (walk-in, crossing, return via the trail): trail packraft.
- 100% calm-water trip (distance, pace, direction): inflatable kayak.
- Short, fun session near the shore in stable weather: inflatable SUP.
For a first-time experience, the packraft is often the most ‘forgiving’ option logistically. You can pack everything into a bag, change your plans easily, and maintain that hiking spirit which is what makes the packraft trail so appealing.
What are the limitations of packrafting you should be aware of before setting off?
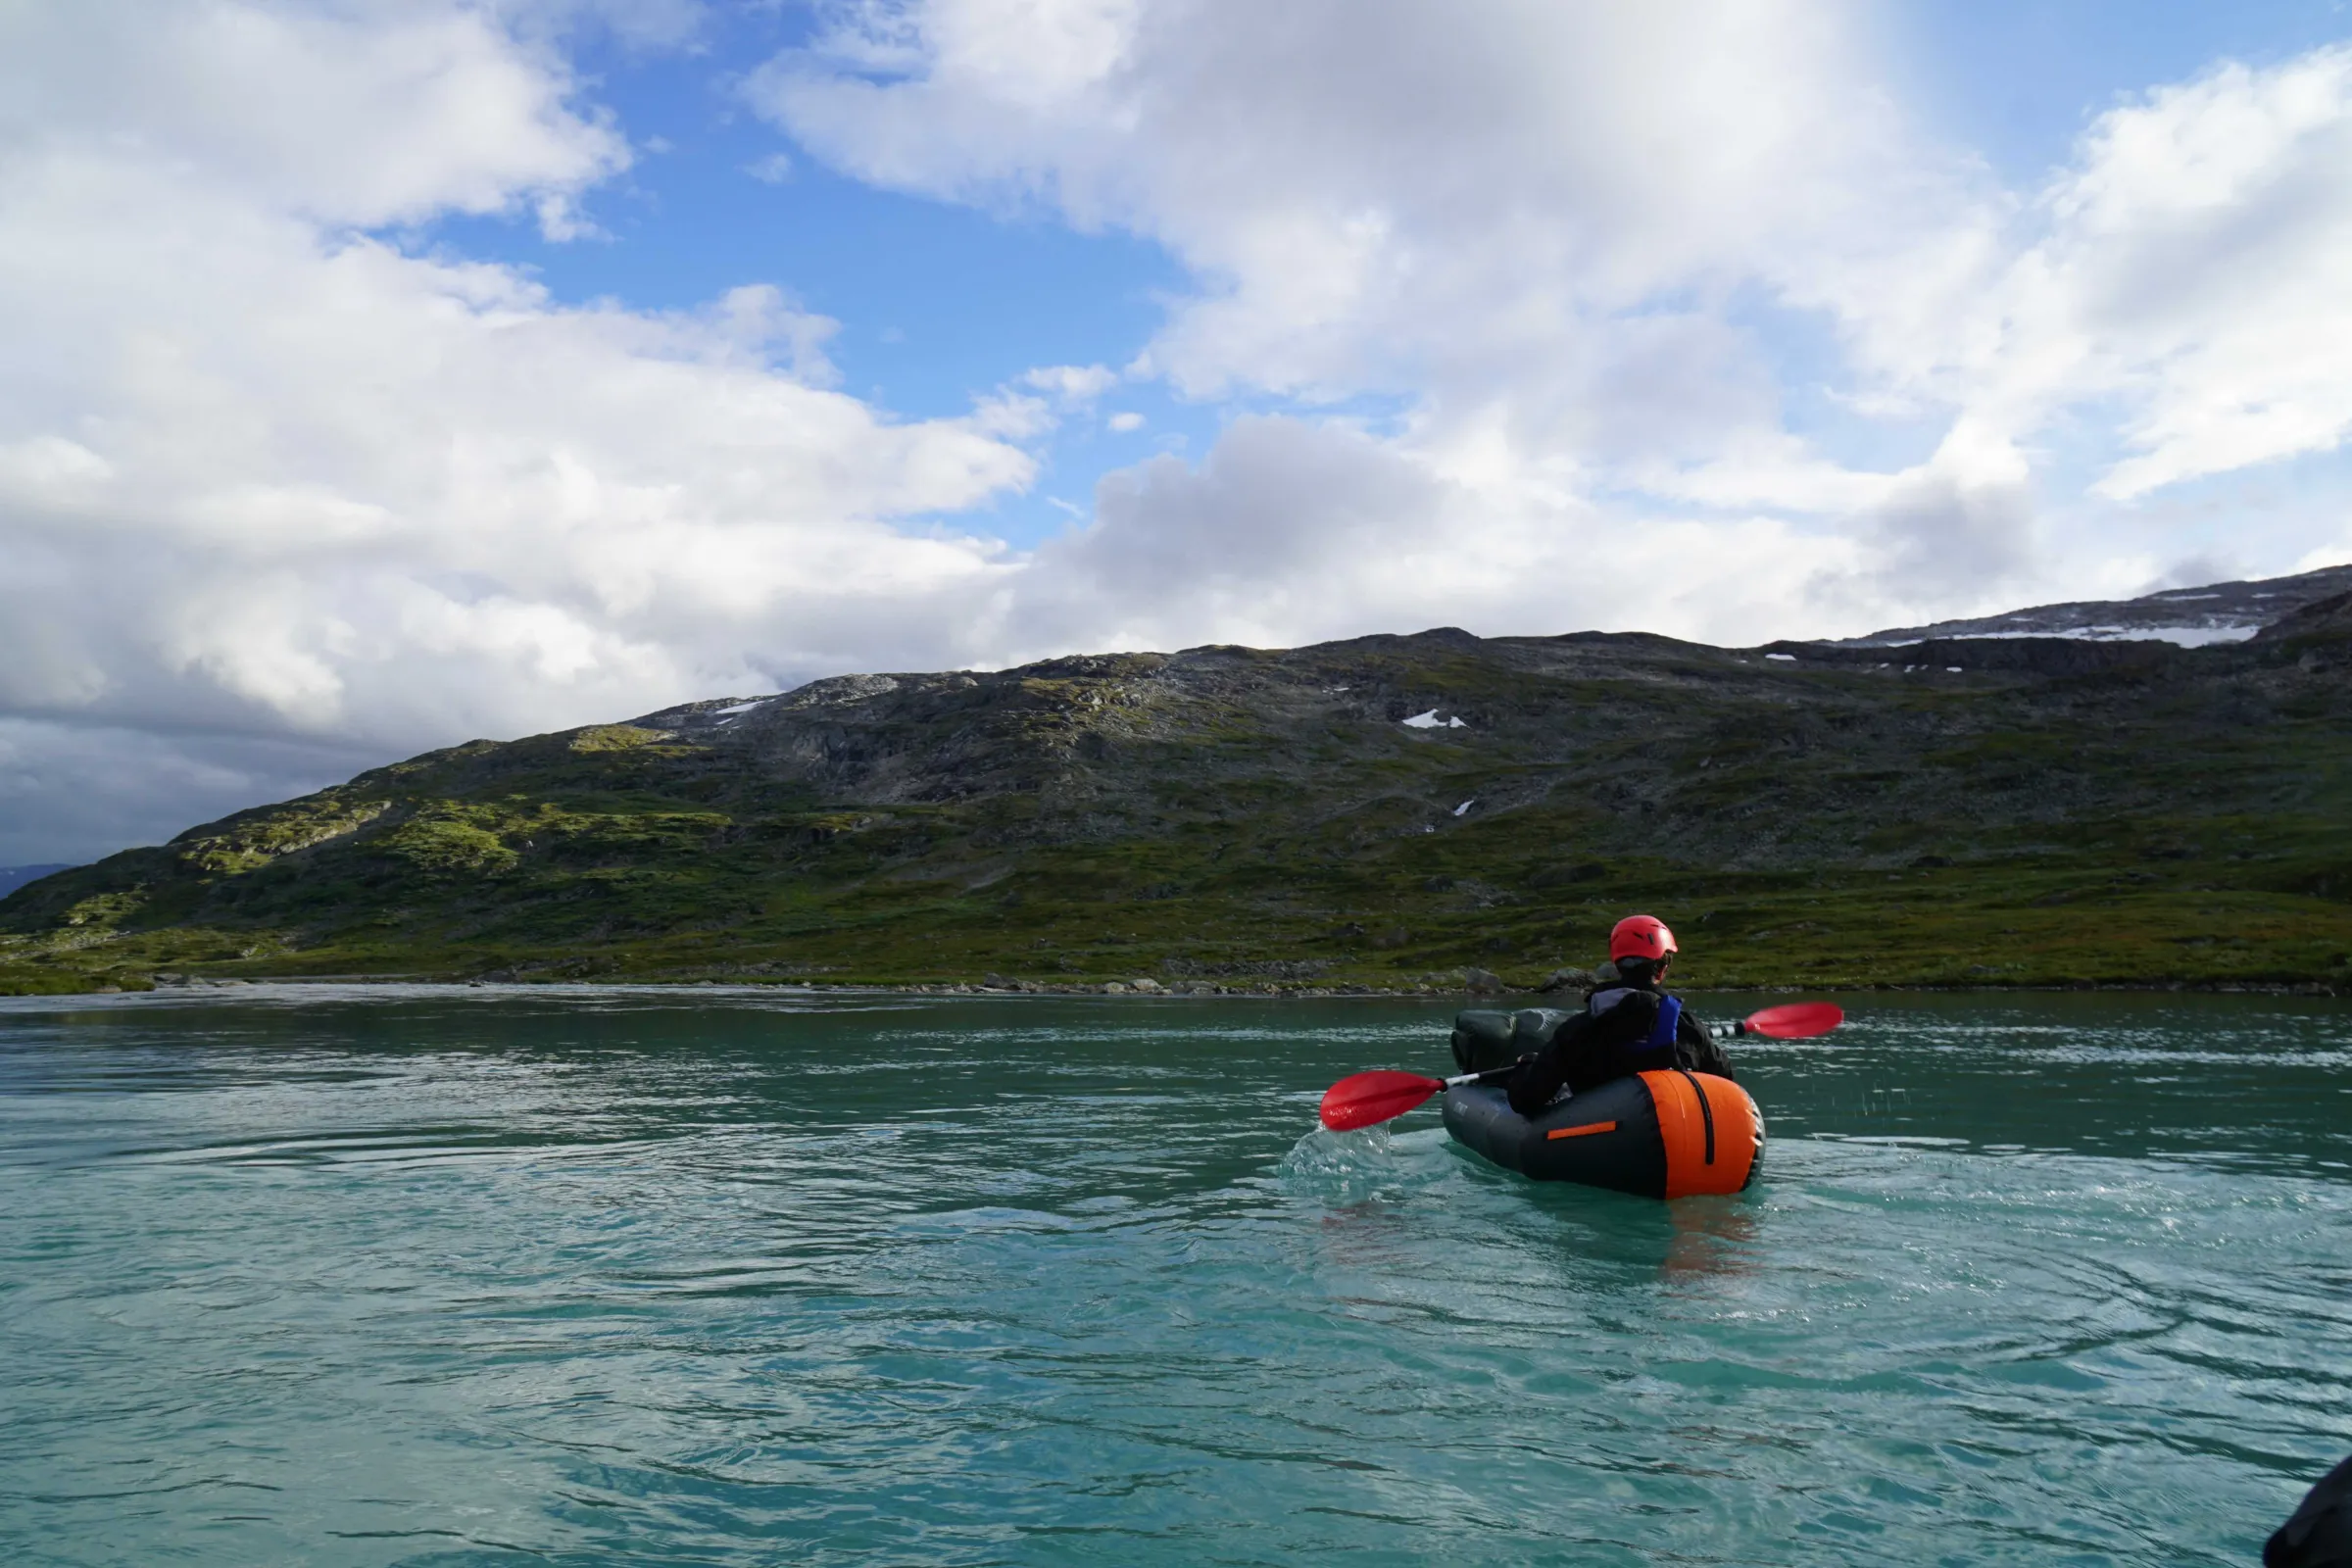
Packraft trail paddling seems straightforward logistically, but certain limitations can catch you out on your first outing. Knowing them makes all the difference: you’ll choose your waterway more wisely, avoid awkward situations, and return home keen to do it all again.
The pitfalls that trip up beginners (and how to avoid them)
Wind and choppy water: a packraft catches the wind easily. On a lake, winds of 15 to 25 km/h are enough to send you adrift and make the return journey tricky. Set off early, stay close to the shore, and plan a route that allows for an ‘easy U-turn’. Check a reliable weather forecast (e.g. Meteoblue) and pay particular attention to gusts, not just the average speed.
Drift and direction: without a skeg or the right technique, you’ll zigzag and tire quickly. Adjust your seat so you’re properly supported, maintain a steady rhythm, and make short corrective strokes. If your hire company provides a skeg, test it on calm water.
Cold and immersion: cold water is tiring, even in summer, especially when it’s windy. Dress for the water, not for walking. Take a thermal layer, a waterproof jacket, and protect your extremities (a thin beanie, neoprene gloves if needed). Wear a suitable life jacket.
Relative fragility: a packraft is quite durable, but it doesn’t cope well with sharp rocks, broken branches or launching on abrasive gravel. Inflate it away from obstacles, lay it on a clean surface, and carry a repair kit (patches, suitable glue, valve tool if supplied). Carry out a quick check of the seams and the base before setting off.
Water level and obstacles: on rivers, a low water level increases the risk of scraping and getting stuck, whilst a high water level increases the current. To start with, aim for flat water or Class I rivers, without weirs or dams. Avoid any sections where you might need to be rescued.
Local regulations: access, protected areas, navigation restrictions and safety rules vary by country and body of water. Check the signs on site and information from the managing authority (park, reserve, harbour). If in doubt, a guided trip with a Wildhartt guide provides guiding and helps to assess the terrain and manage risks.
Hiring a packraft for a day: equipment checklist
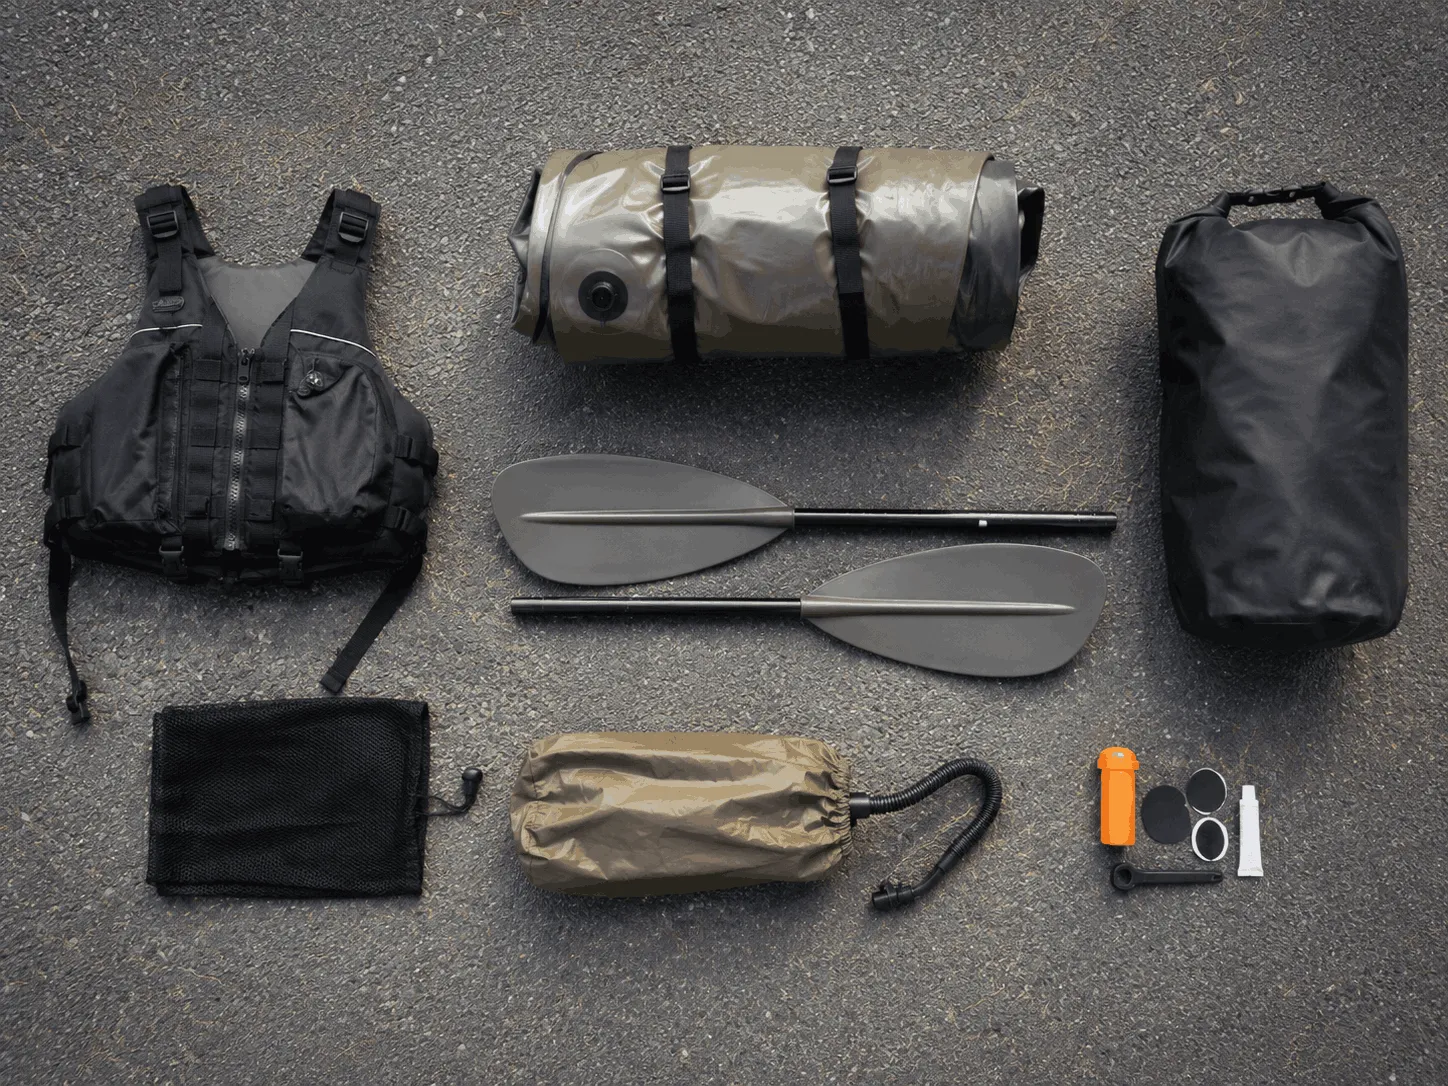
On a packraft trail, safety begins before you launch. A reputable hire company will provide you with the essentials, but it’s up to you to check that everything is complete, adjusted to your size, and in good condition. Carry out this check in 3 minutes in the car park, not in the middle of the lake.
- Packraft: fabric free from cuts or abrasions, valves clean and closing tightly, seat and backrest in place, attachment points intact (rings, straps). Inflate fully for 2 minutes and listen for any leaks.
- Inflation bag (pump bag): nozzle compatible with the valve, bag free from tears, strap or handle in good working order. Without an inflation bag, you’ll waste time and end up out of breath.
- Detachable paddle: 3 or 4 sections, clips that lock securely, no play in the joints, blades free from cracks. Adjust the length before setting off, then mark your setting (a simple piece of tape will do).
- Personal flotation device (PFD): the right size, straps that really tighten, foam that hasn’t compressed, whistle included if supplied. Simple test: with the PFD fastened, pull it down by the shoulders – it mustn’t ride up to your ears.
- Leash or safety line (if supplied): the attachment point on the boat side must be in good condition, the carabiner must close securely, and the length must be suitable for your activity (avoid attaching it to your body when paddling on rivers).
- Repair kit: patches suitable for the material, glue that hasn’t gone off, alcohol or a wipe, a small piece of abrasive cloth. Also check that there is at least one spare valve cap.
- Waterproof bag: capacity suitable for your bag, a roll-top closure that stays secure, no tiny holes. Put a piece of paper inside, press it down, then check that it stays dry.
- Clothing: a warm layer in a waterproof bag, a windbreaker, waterproof footwear, a cap or hat depending on the temperature. In cold water, bring neoprene protection (socks, shorty) if the hire company doesn’t provide it.
The little detail that can ruin a day’s packrafting
The most common issues are poorly adjusted straps and a poorly secured load. Before setting off, attach the waterproof bag to the packraft, tighten your lifejacket, then take 20 paddle strokes close to the shore. If you keep veering to one side, correct your posture or the position of the seat straight away.
First trip: a simple route, safety and a plan B
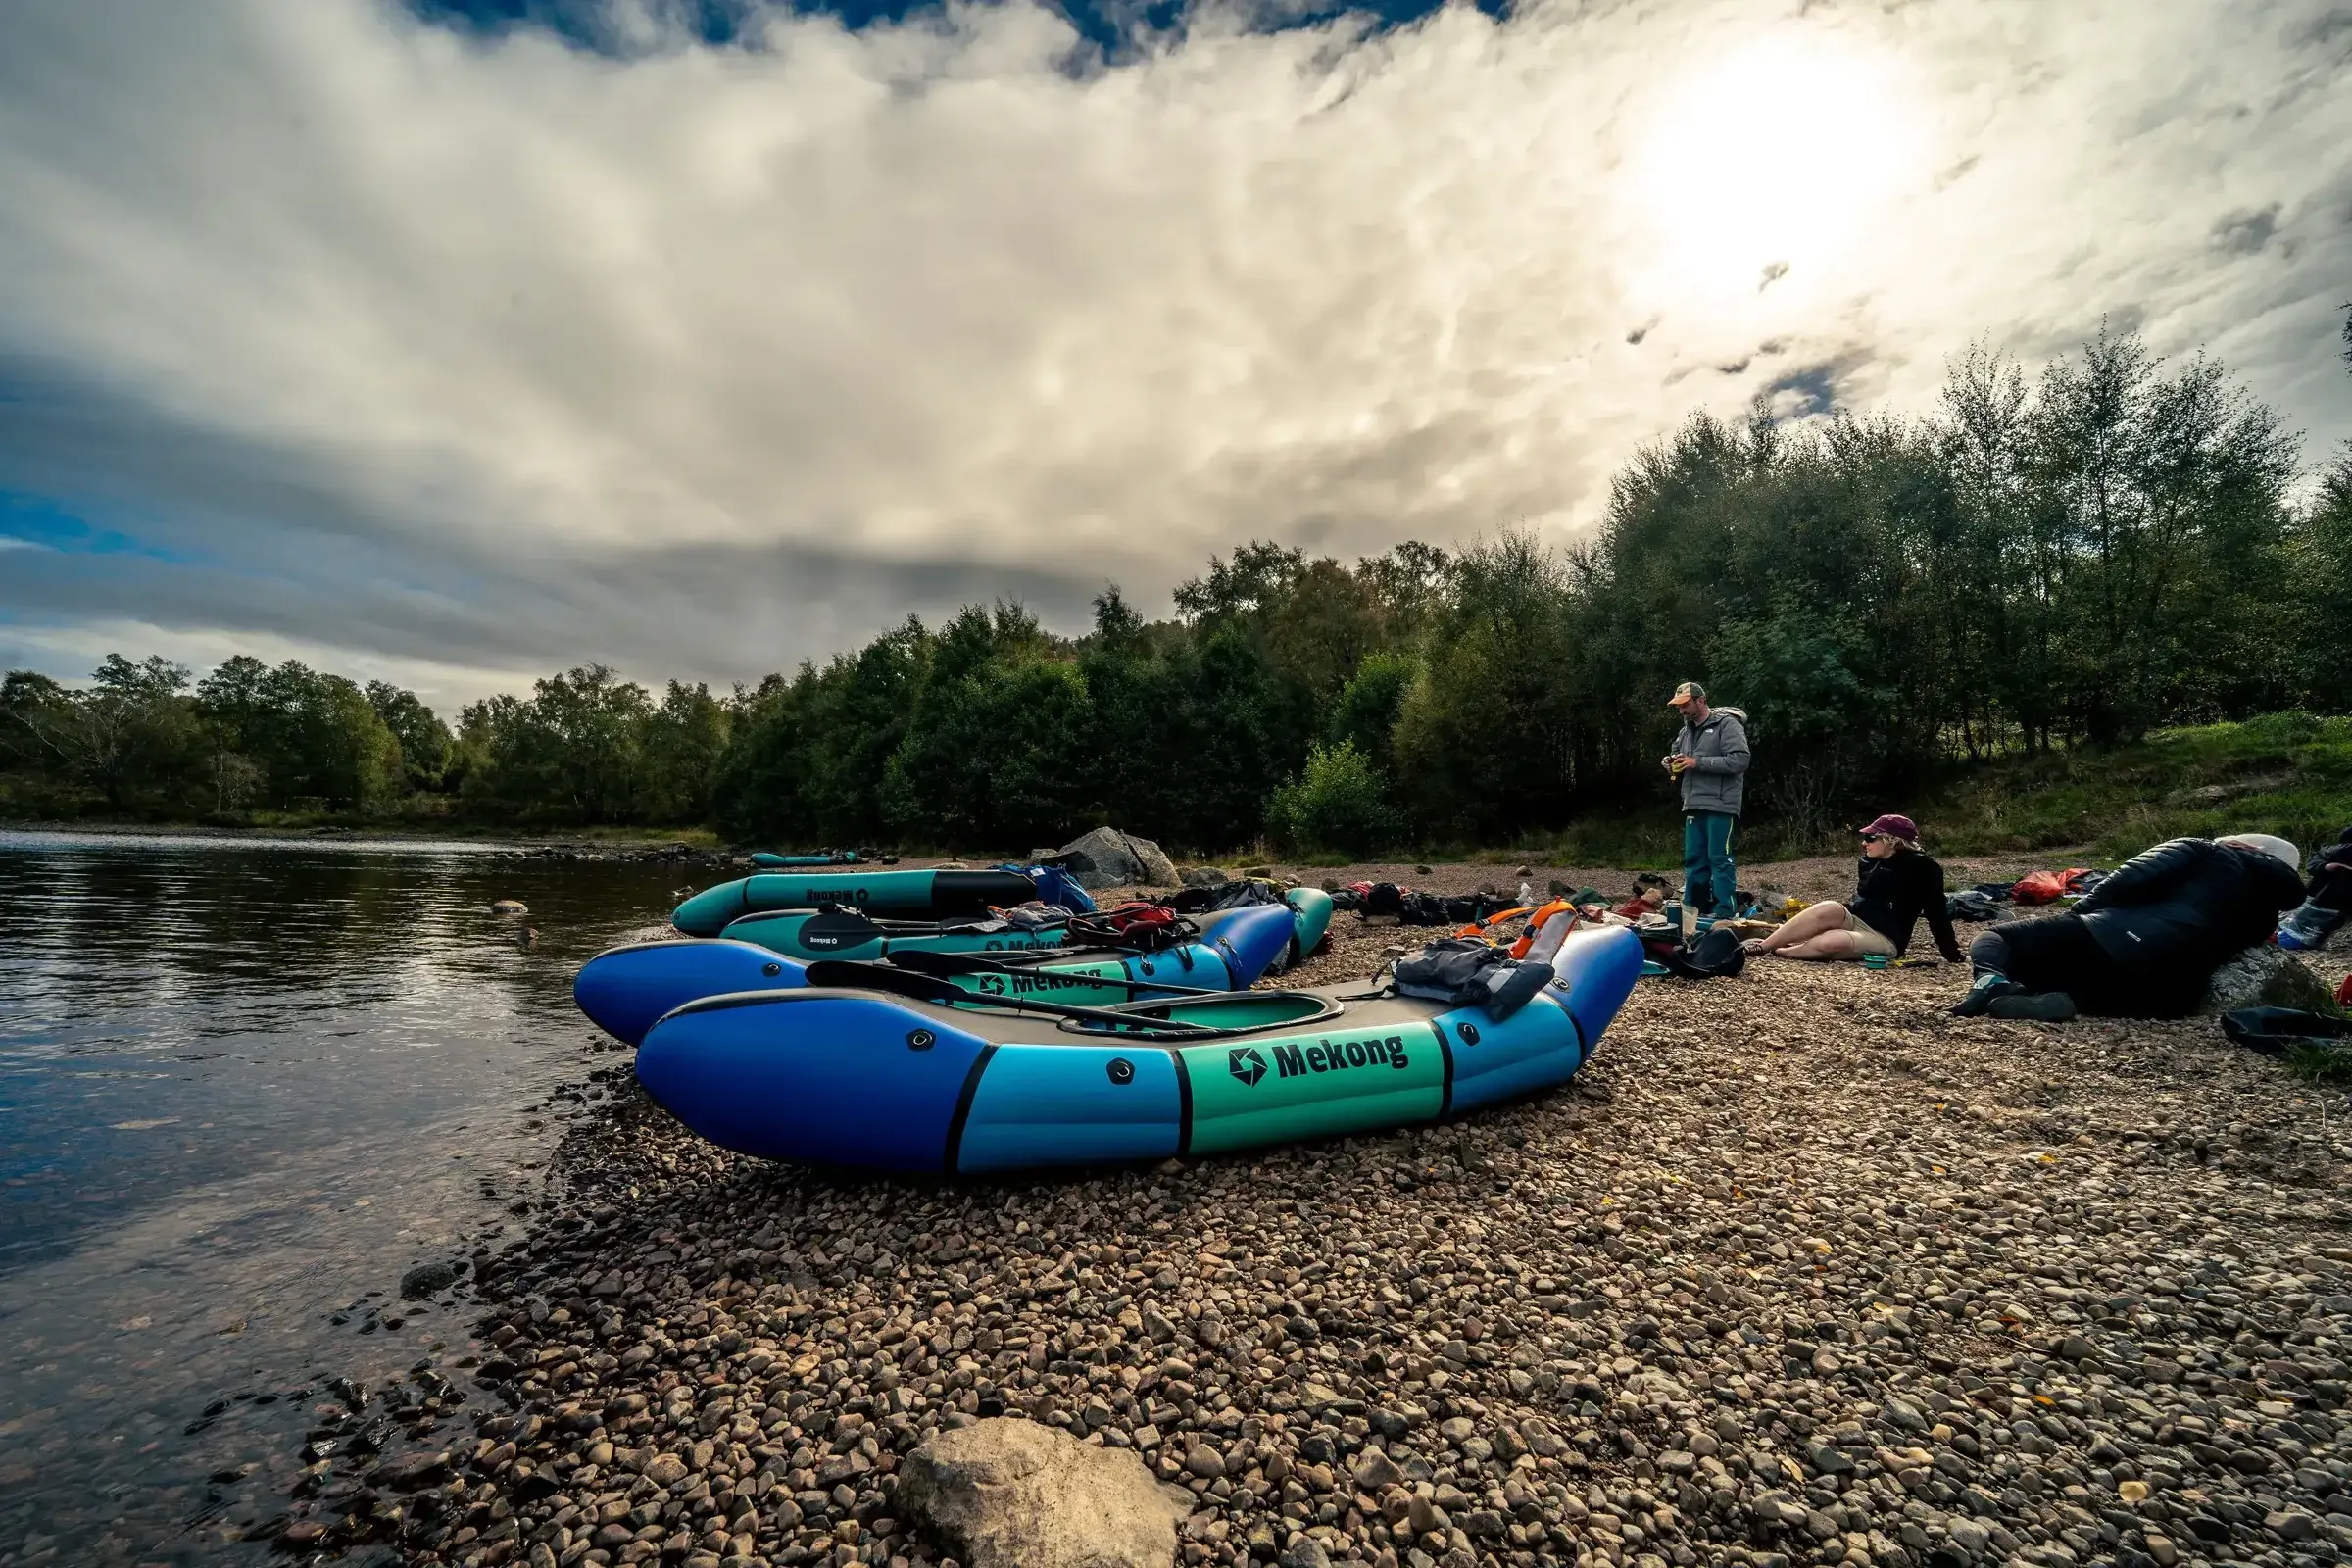
After your 20 paddle strokes near the shore, you’ll already know whether your packraft is travelling in a straight line. The next step in packraft trail paddling is to choose a forgiving stretch of water, plan a simple route, and then decide in advance what you’ll do if the wind or fatigue change the situation.
Choosing an easy route (ideally a lake) in 7 steps
- Aim for calm water: a sheltered lake or a protected bay. Avoid long, exposed crossings and shores with no escape route.
- Stay close to the shore: plan to paddle 20–50 metres from the bank. This ensures you can get ashore quickly if needed.
- Set a short distance: 2 to 5 km on the water is enough for a first attempt. Plan for breaks every 15–20 minutes.
- Identify two launch points: an easy entry point (gentle slope) and an alternative exit. Sharp pebble beaches can damage the fabric.
- Check the wind forecast: look at the strength and gusts, as well as the direction. Gusts of 25 km/h can turn a lake into a real struggle. Use a detailed forecast (e.g. Meteoblue).
- Avoid hazardous areas: dams, spillways, locks and busy harbour areas. On a lake, stay clear of boat traffic lanes.
- Draw up a plan B: if the wind picks up, paddle along the leeward shore, get out of the water, then walk back along the path.
On the water, follow these simple rules: wear your lifejacket and fasten it securely, secure your waterproof bag, keep your phone in a waterproof pouch, and turn back as soon as you start running out of room. For rescue points, refer to the International Life Saving Federation (ILS) recommendations on water safety: ilsf.org.
If you want a very simple route, choose a ‘right bank, left bank’ loop and save the shortest crossing for the return journey, when you still have energy.
Packraft trips with Wildhartt: when to switch to a guided trip
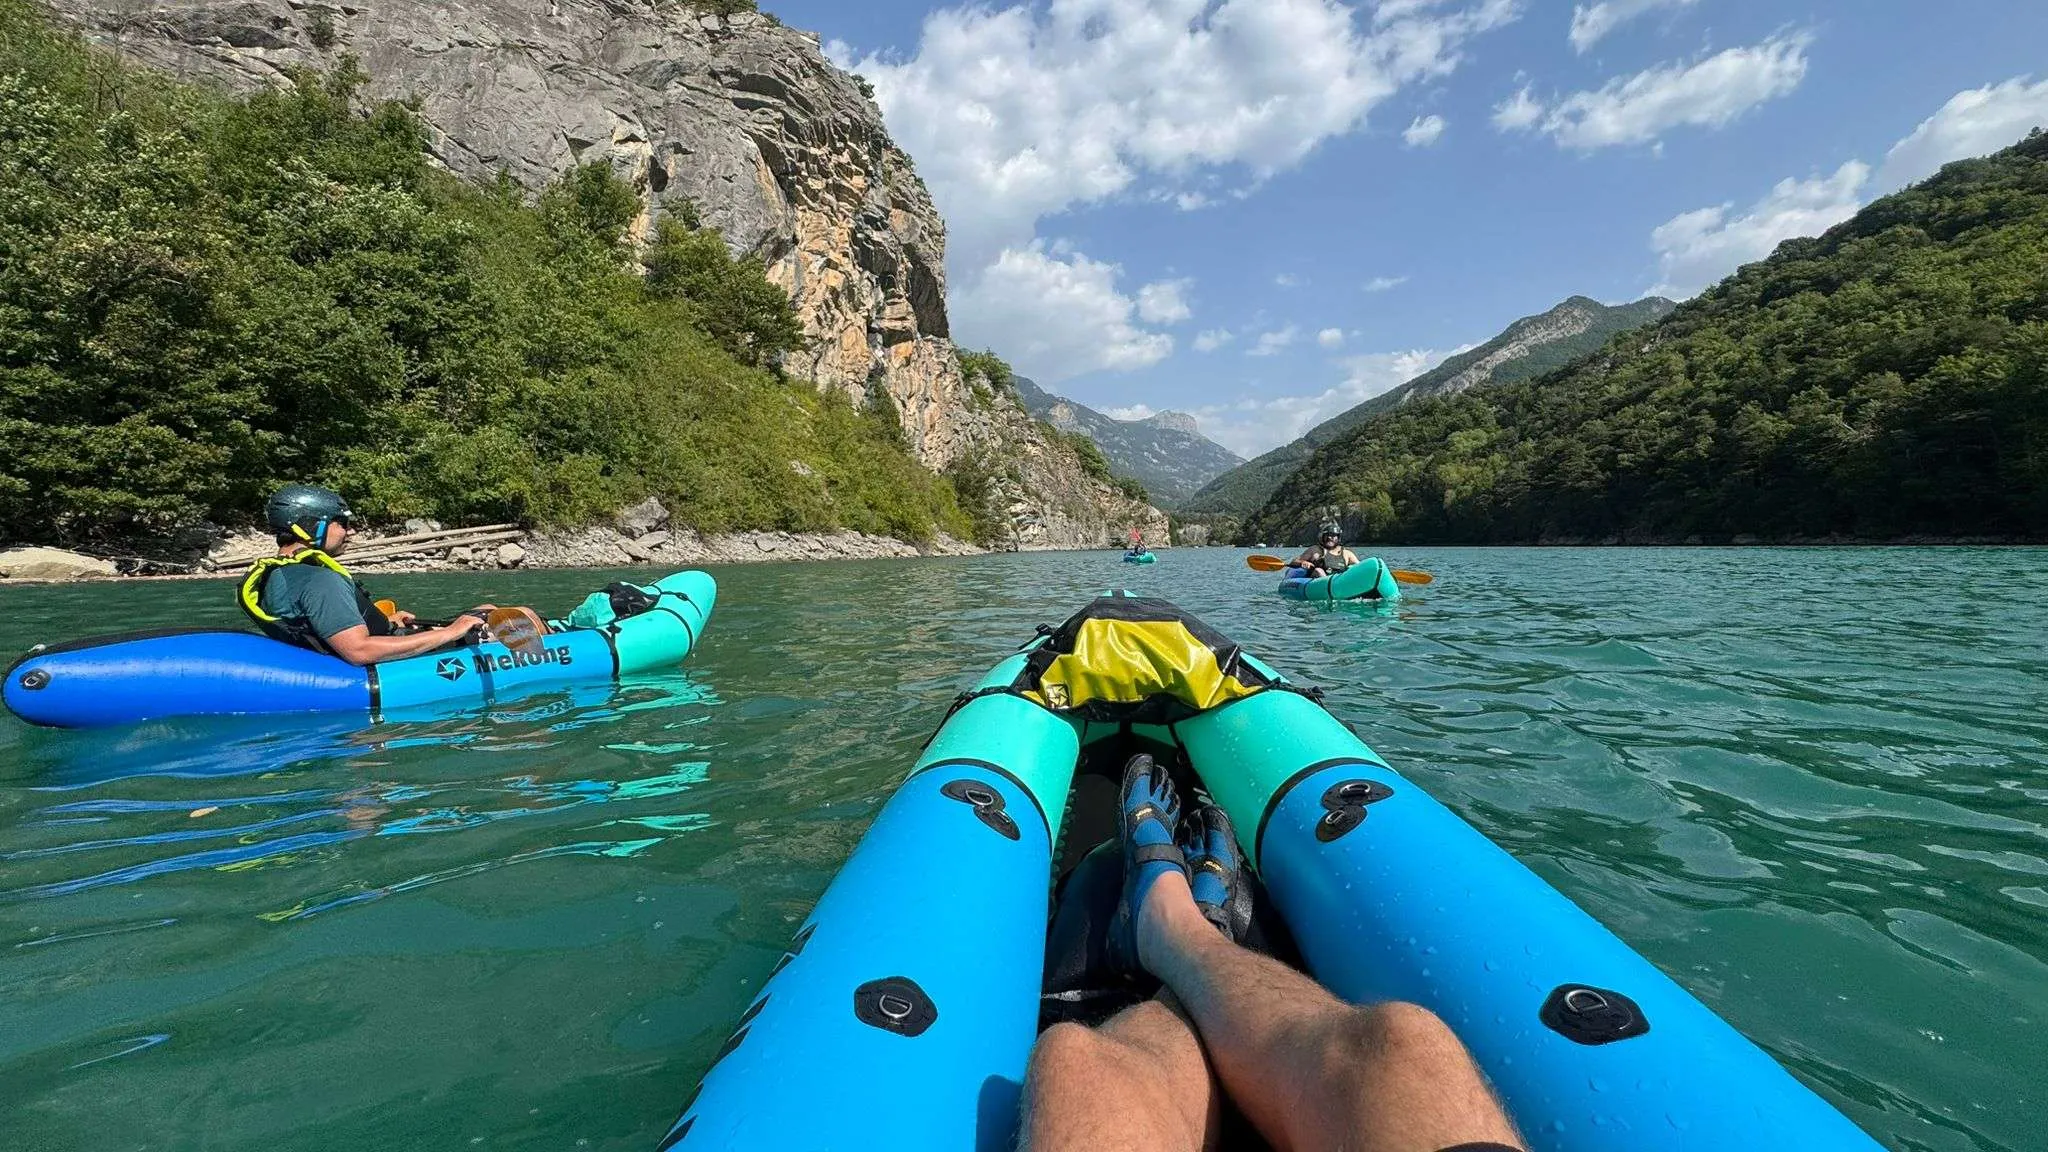
On paper, a “right bank, left bank” loop is sufficient. In practice, packrafting becomes simpler and safer when someone is managing the reading of the water, the local weather and the right reflexes. Opting for a guided trip is particularly worthwhile when you want to learn quickly, or when the terrain introduces unknown factors.
A trip guided by a professional is useful if you tick at least one of these boxes:
- You’re heading out from a sheltered lake: wind picking up in the valleys, short choppy swells, longer crossings, and banks that aren’t ideal for landing.
- You’re heading into a river: choosing a line, spotting features from the bank, reading water currents, navigating obstacles (log jams, weirs, dams). This is where beginners tend to make mistakes most quickly.
- You’re setting off in a small, mixed group: different skill levels and paces, varied kit, a need for clear guidelines to stay together.
- You’re aiming for a ‘no-fuss’ trip: no need to improvise a shuttle, no debate about where to launch, no uncertainty about the return journey if the wind changes.
Above all, Wildhartt offers practical advice on small-group adventures in Europe: certified guides who set out simple rules (distances, signals, stopping points), well-organised logistics (realistic entry and exit points, timetables, a Plan B on foot) and a structured approach to technical progression. You’ll learn how to trim the boat, paddle straight without tiring yourself out, disembark safely, and secure your kit in a waterproof bag.
What you’ll gain from your very first guided trip
You’ll come away with a method you can use time and time again: checking the wind and gusts, choosing a route that ensures an ‘easy return’, identifying areas to avoid, and deciding quickly when to turn back. If you want to move from theory to practice, book a guided trip, then repeat the same format independently the following week, on a calm lake, whilst maintaining the same high safety standards.

Find your next adventure
Browse curated expeditions matching the categories of this article and start planning your next trip.
Find your dream adventure
 Find your dream adventure
You might also like these adventures …
Hand-picked to echo the spirit of this article.




More to discover
Keep exploring with these pages and stories picked for you.
How to Start Packrafting in Europe: Choosing Your Trip
Choose a first packrafting trip in Europe by comparing level, season, effort and the type of experience you want.
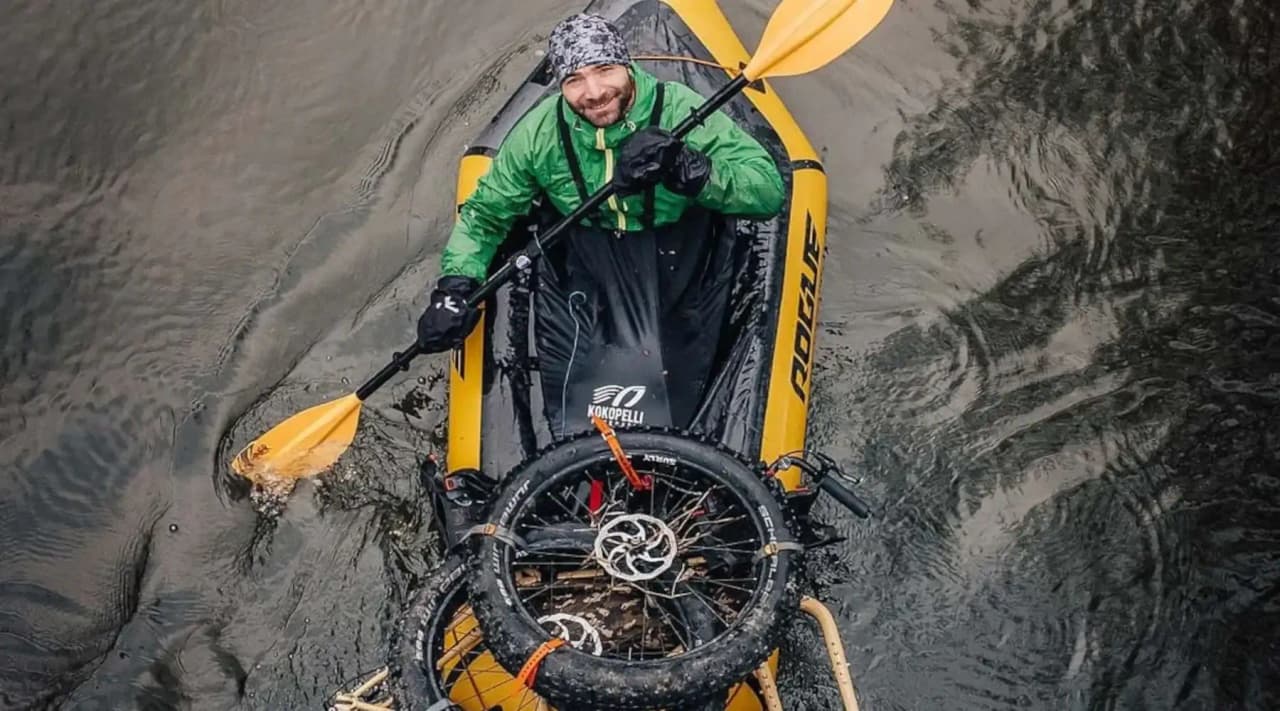
Bikerafting: A Beginner's Guide
Perhaps the idea of combining a bikepacking route with a packraft river has already crossed your mind? Discover bikeraft!
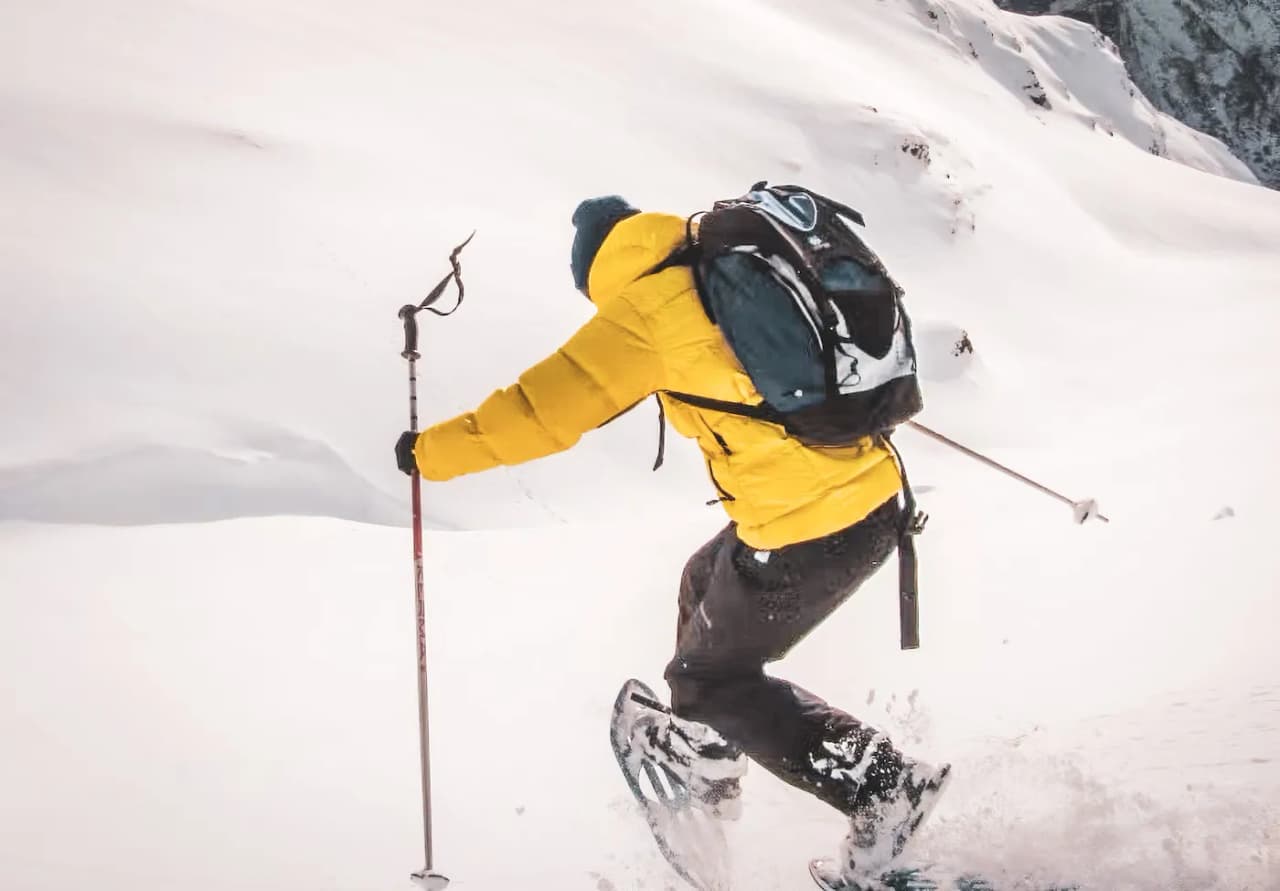
Snowshoeing Checklist: What to Pack for a Safe Day Out
Prepare for a snowshoe hike with a practical checklist covering clothing, safety gear, food and navigation.

Bushcraft: building a shelter in the forest in under an hour
Discover the exact method for building a shelter quickly and safely in the forest: choosing a spot, knots, insulation and mistakes to avoid in bushcraft.
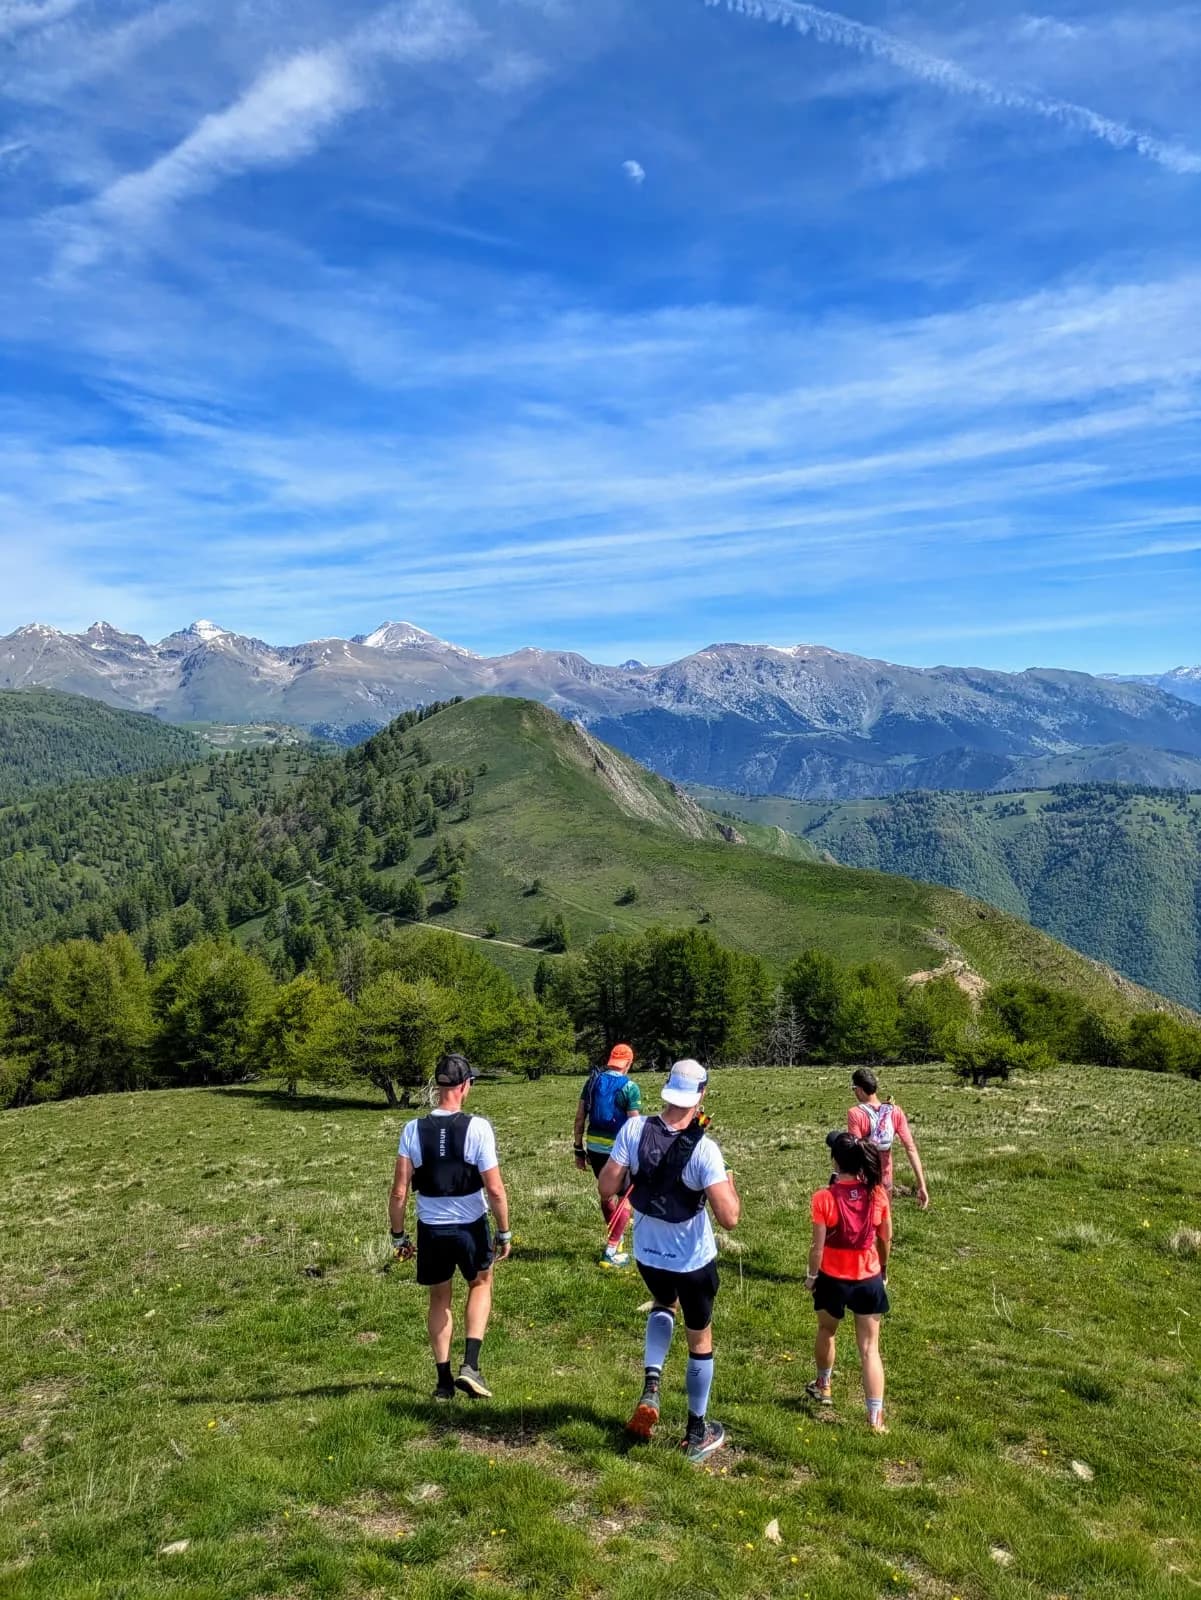
Mountain Trail-Running Camps in France: How to Choose
Compare mountain trail-running camps by destination, level and goals to choose a format that fits your running.
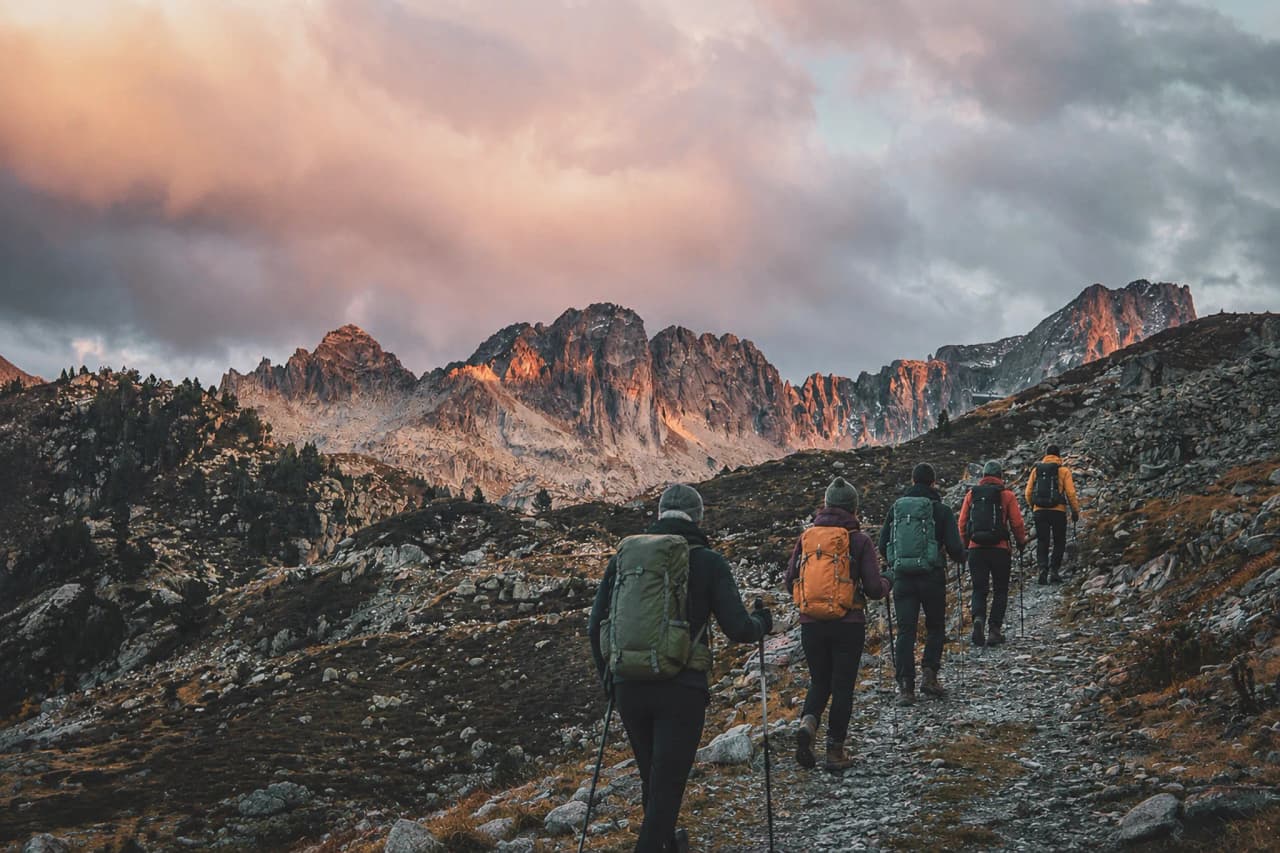
Our guided hikes in the Pyrenees
Set off to explore the French Pyrenees with certified local guides. Small-group hiking holidays, from the Atlantic to the Mediterranean. Free cancellation up to 30 days in advance.
