Bushcraft: building a shelter in the forest in under an hour
 By isabelle
Discover the exact method for building a shelter quickly and safely in the forest: choosing a spot, knots, insulation and mistakes to avoid in bushcraft.
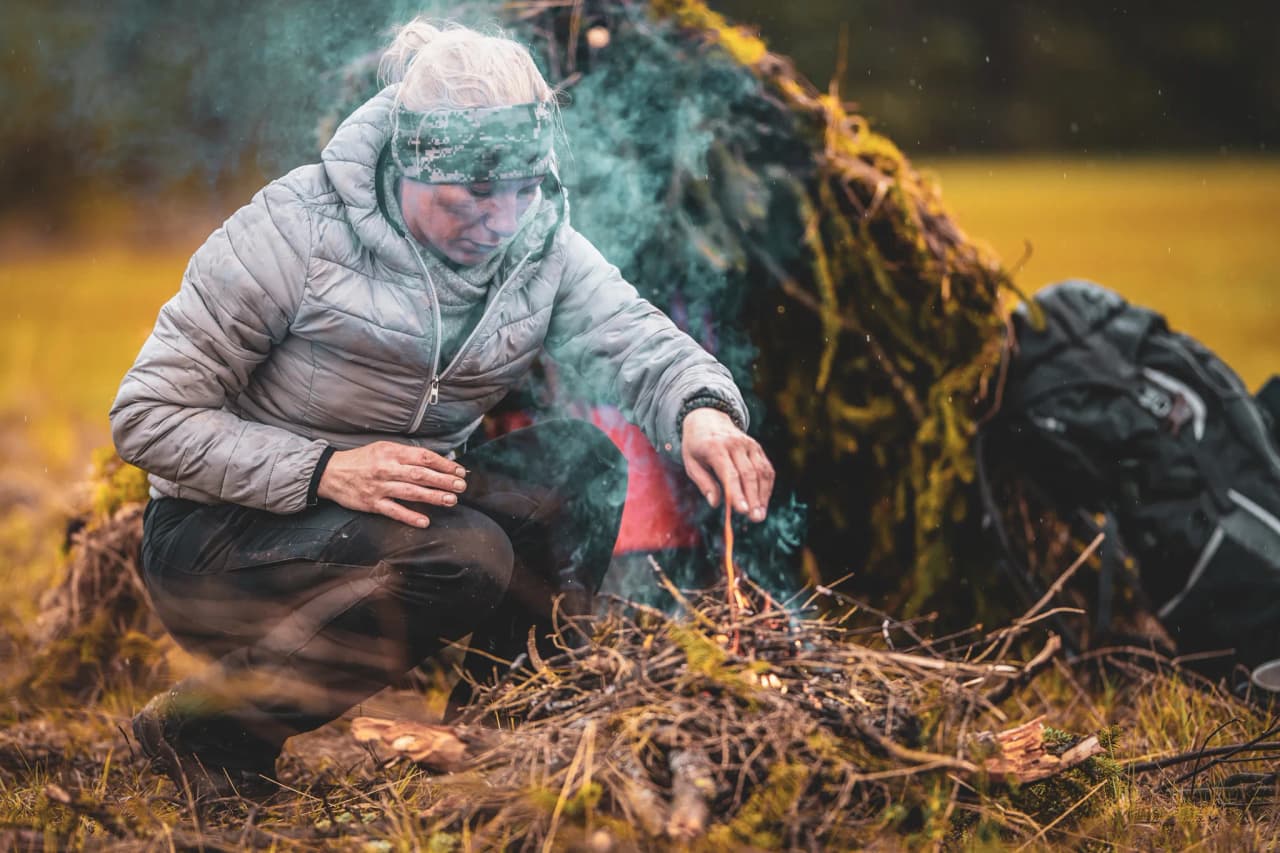
You have 60 minutes before the rain starts, it gets dark, or tiredness catches up with you. In that time, practical bushcraft involves putting up a low, taut and waterproof shelter , not ‘building’ one. The aim is simple: to block the wind, keep the rain out, insulate you from the ground, and allow you to lie down in the dry.
There’s nothing mysterious about saving time: choose the right shape for the terrain and weather, take the essential items out of your rucksack (rope, tarpaulin, head torch, something to cut with), spot a safe spot within two minutes, then gather and sort the natural materials before you start tying knots. When you’ve got the right approach, a lean-to or an A-frame can be erected quickly and will hold up through the night.
- Weather: if a storm is approaching, look first for a safe place to take shelter (a building, vehicle or official Mountain hut) rather than a makeshift shelter.
- Terrain: avoid ravine bottoms, dry stream beds, scree slopes and unstable slopes. Check for ‘widowmakers’ (dead branches overhead).
- Fire: only light a fire if it is permitted, necessary and controllable. Keep water within reach, clear the ground of loose material, and stop if the wind picks up.
- Fatigue: aim for a simple, reliable shelter. A modest shelter erected quickly is better than a large, hastily constructed one.
If you’re setting off with a certified guide (as on some Wildhartt trips), you’ll save time when it comes to choosing a spot and managing risks. Otherwise, this guide provides a clear method for deciding on, preparing, building and then reinforcing your shelter before the first gust of wind.
Which shelter should you choose depending on the terrain and weather?
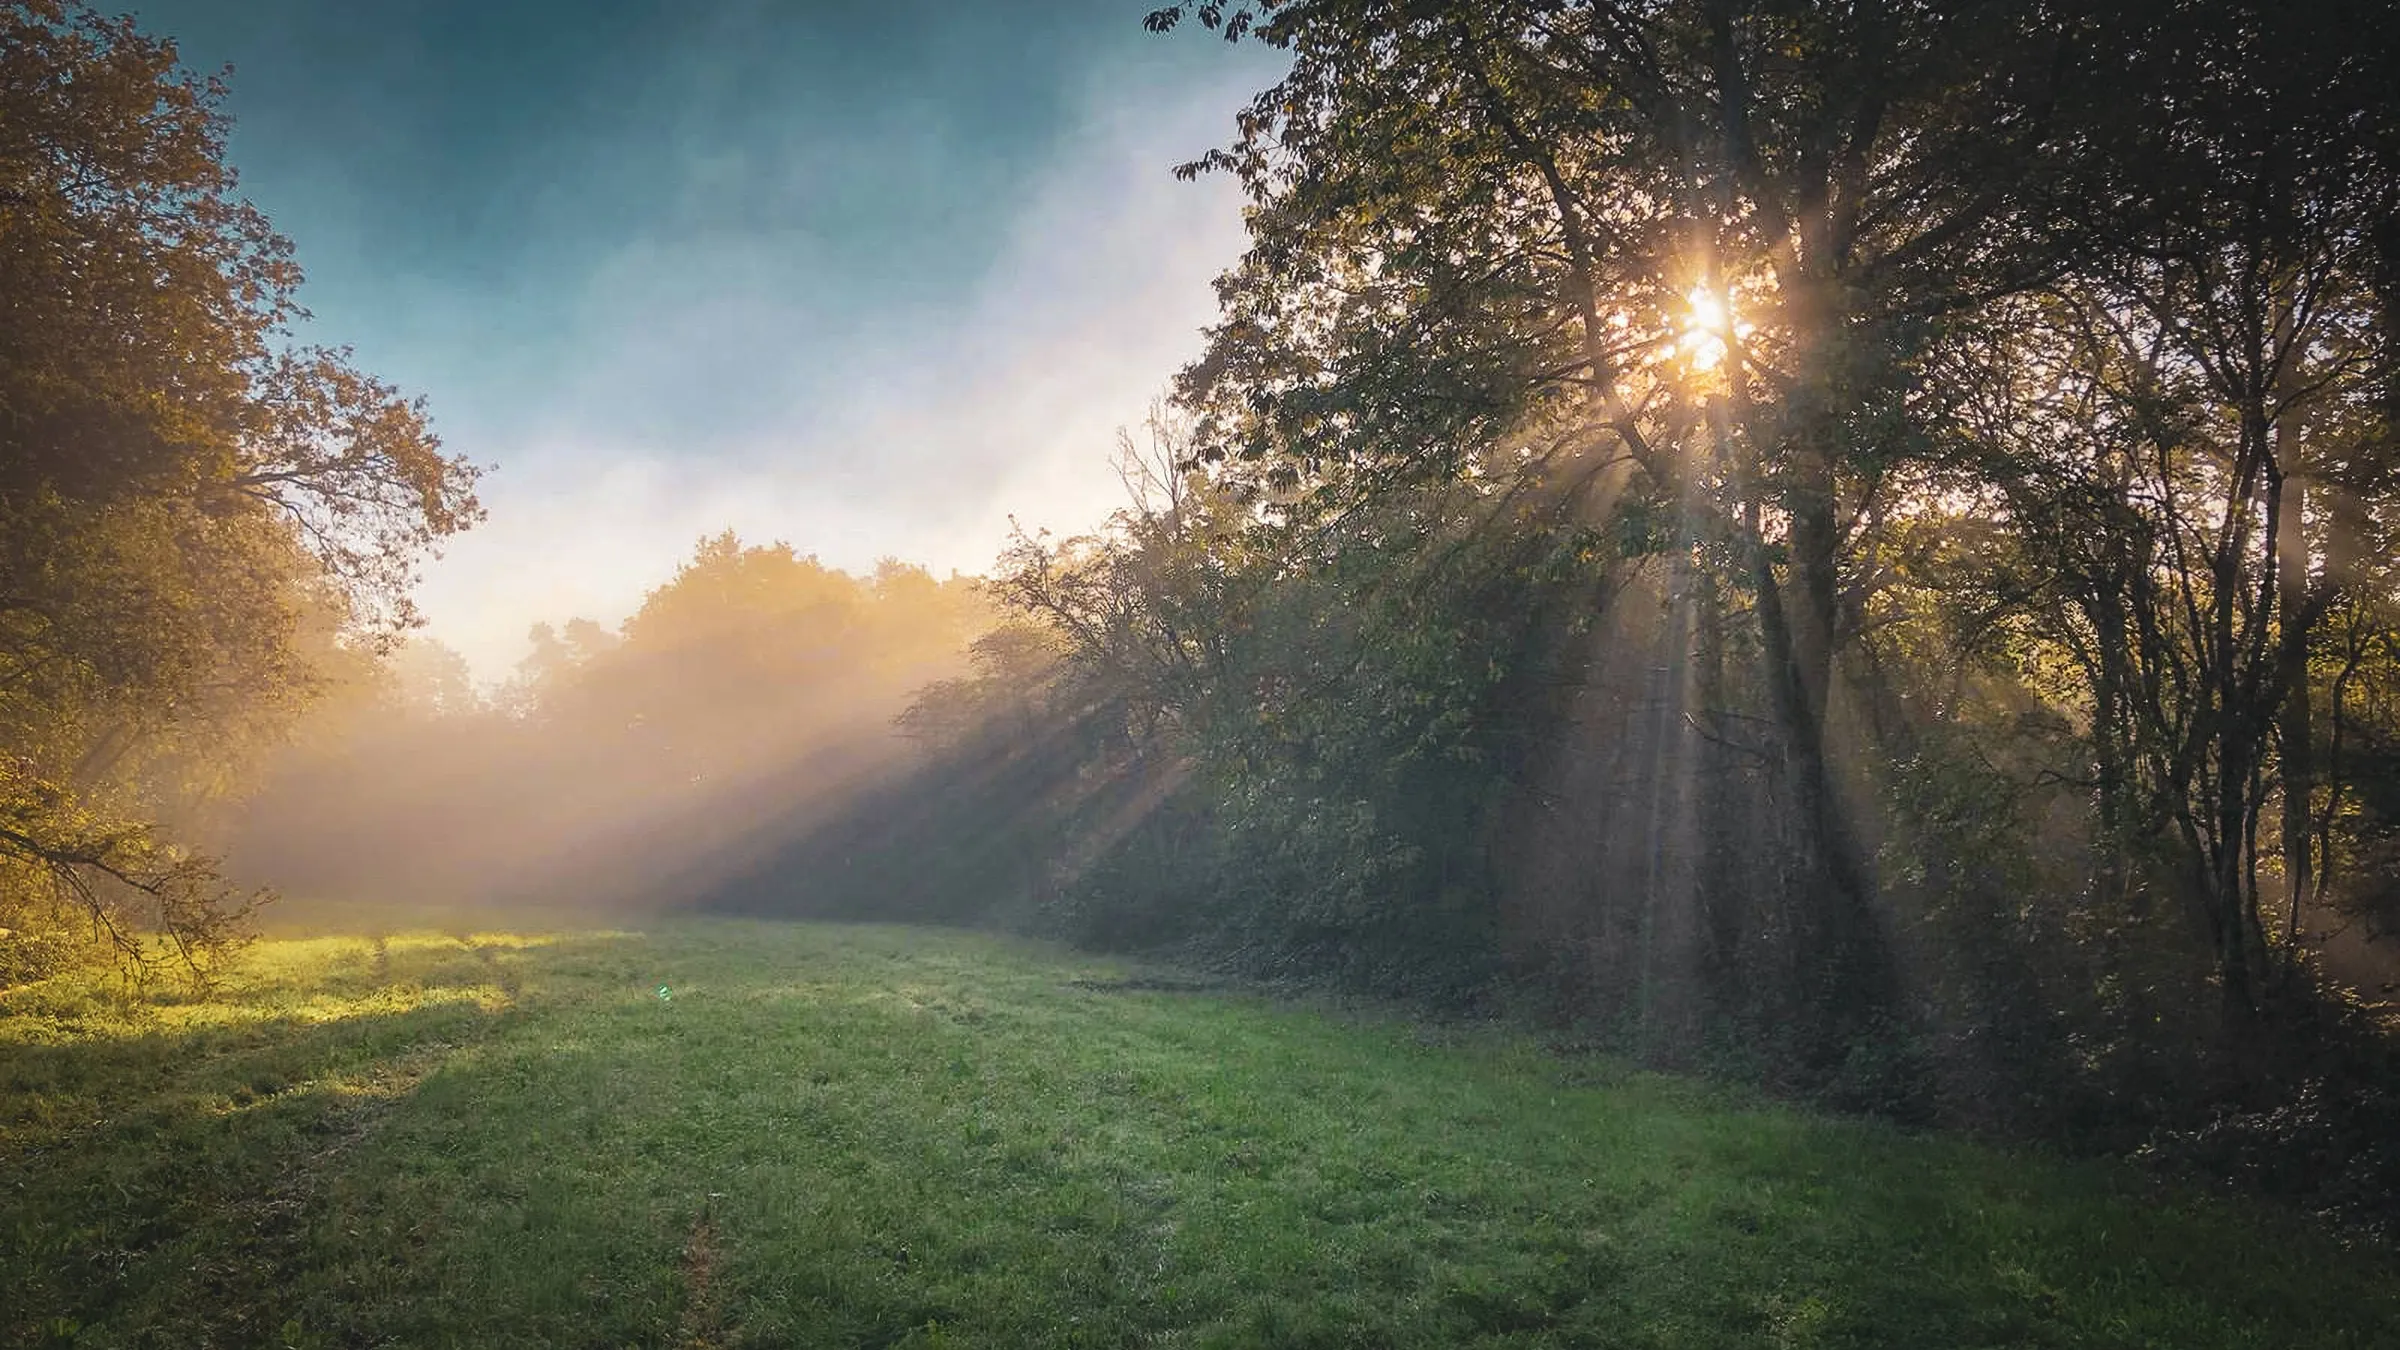
A certified guide saves you time when it comes to assessing risks, but you still need to choose the right type of shelter. In bushcraft, the weather and terrain dictate the design. Aim for a simple, low-profile shelter that’s quick to build, one you can finish before the rain or cold catches up with you.
Decide in 2 minutes using this checklist (shelter type → situation):
- Continuous rain + moderate wind: A-frame tarp (gabled roof). It drains water effectively if you give it a steep pitch and a taut ridge line.
- Strong wind (gusts): very low lean-to + windbreak (wall of branches, logs, stones). Position the back of the shelter facing the prevailing wind.
- Dry cold: lean-to + reflector (if a fire is permitted and under control). Without a fire, focus on insulating the ground, not on the size of the shelter.
- Waterlogged ground or snow: raised shelter (bed of thick branches, spruce, dry ferns) under a tarp. The ground steals your heat faster than the air.
- Slope: asymmetrical tarpaulin with the rear lower on the upstream side. Avoid natural gullies that turn into streams.
- Limited wood, fragile forest, exposed area: minimal tarp and secure anchors. Avoid breaking living branches.
Quick tips to ensure your shelter stays put (and stays dry)
Choose a small volume. It’s easier to heat a space 1 to 2 metres wide than a ‘hut’.
For rain, prioritise the slope, not the thickness. A roof that’s too flat creates pockets of water and sags. Add a ‘water drop’ to the ropes (a small knot or a piece of string) so that water runs off before it gets inside.
For wind, keep everything low. A tall shelter acts like a sail. If you’re torn between two options, choose the one that’s lower and offers less surface area to catch the wind.
What should you pack in your rucksack to build a bushcraft shelter?
A low shelter withstands the wind better, but it stays up mainly thanks to what you’ve got in your rucksack. In bushcraft, the right kit minimises cuts, speeds up knotting and stops you ending up soaked because you’re ‘just missing a piece of string’.
Minimal kit for a bushcraft shelter (lightweight, quick to set up)
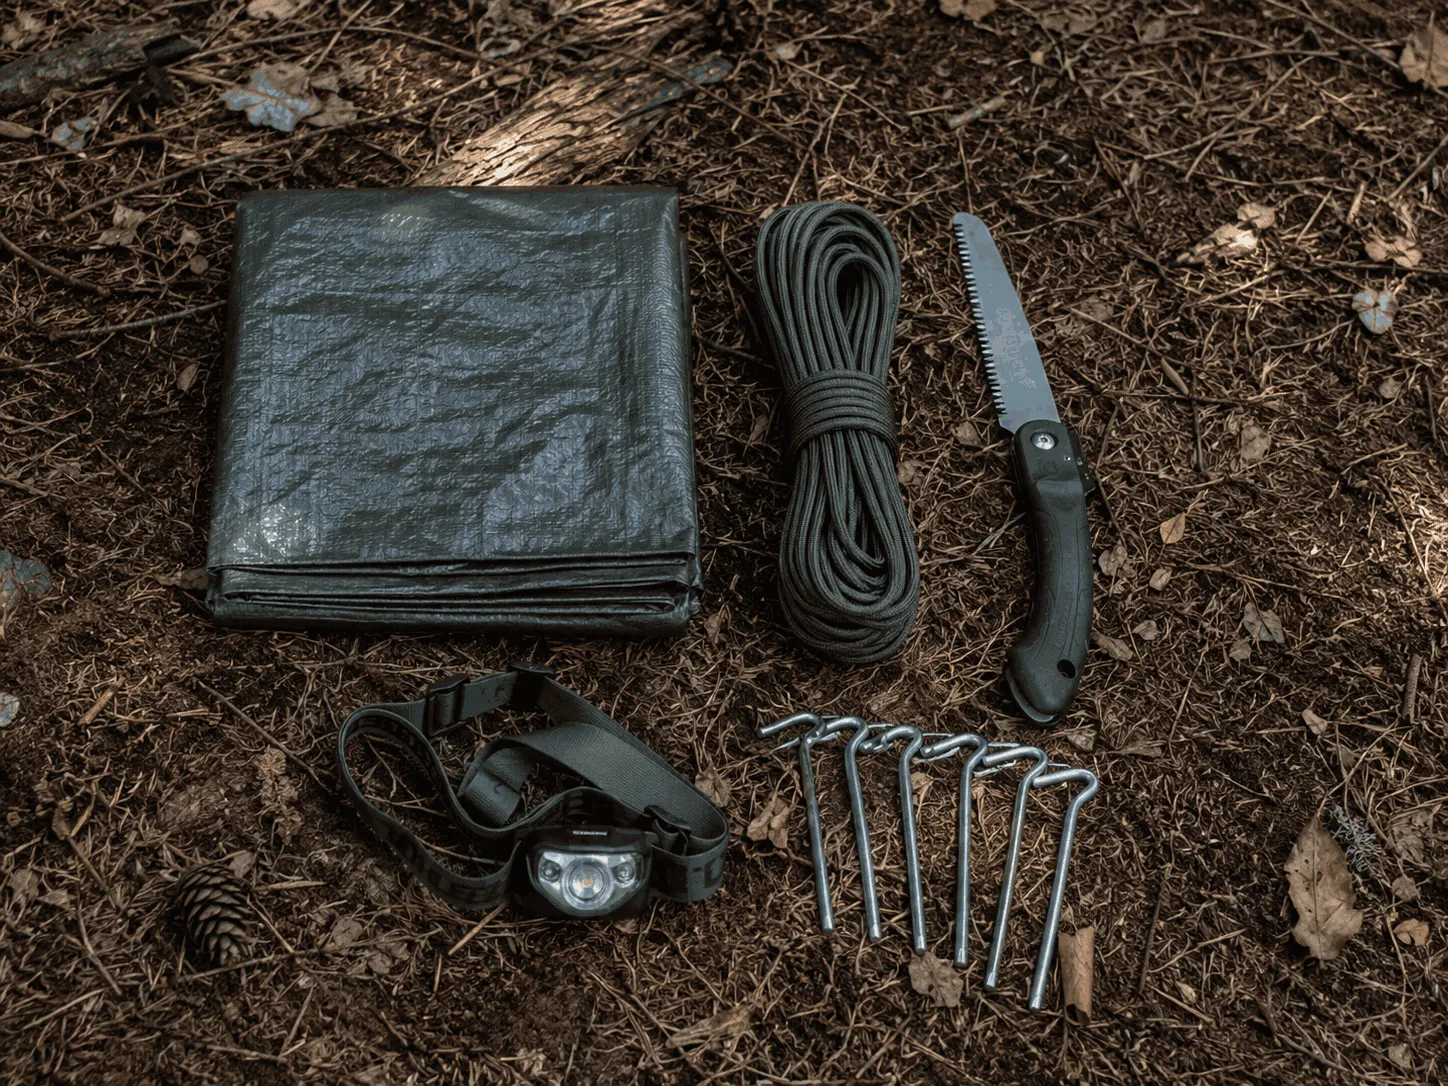
- Tarp (2 x 3 m or 3 x 3 m) or poncho-tarp: this is your immediate roof, even without large poles.
- Rope: 10 to 15 m of 550 paracord (or thin Dyneema cord) + 2 to 4 m of thicker rope if you’re setting up a ridge line.
- 6 to 10 anchor points: aluminium pegs; homemade stakes are an option, but make sure you have at least 2 proper pegs for hard ground.
- Cutting tool: folding saw (such as a Silky PocketBoy) for clean, quick cuts. A small fixed-blade knife is sufficient for whittling stakes.
- Lighting: head torch + batteries (or rechargeable battery) to tie knots without making mistakes.
- Safety: survival blanket, mini first-aid kit, lighter + waterproof matches.
A lightweight alternative if you’re going ‘minimal’: replace the tent pegs with sandbags (freezer bags) and stones, or buried wooden deadman anchors.
Comfort kit if you’re actually sleeping outdoors: foam mattress (such as a Therm-a-Rest Z Lite) or inflatable mattress, sleeping bag liner or bivy bag, thin work gloves, a small groundsheet (Polycryo or Tyvek).
Common mistakes: setting off with 3 m of rope (not enough), forgetting your head torch, taking a heavy axe and no saw, pitching the shelter without proper ground protection. On Wildhartt guided trips, the guides often save 20 minutes by standardising ropes and anchors.
How do you choose the perfect spot before building?
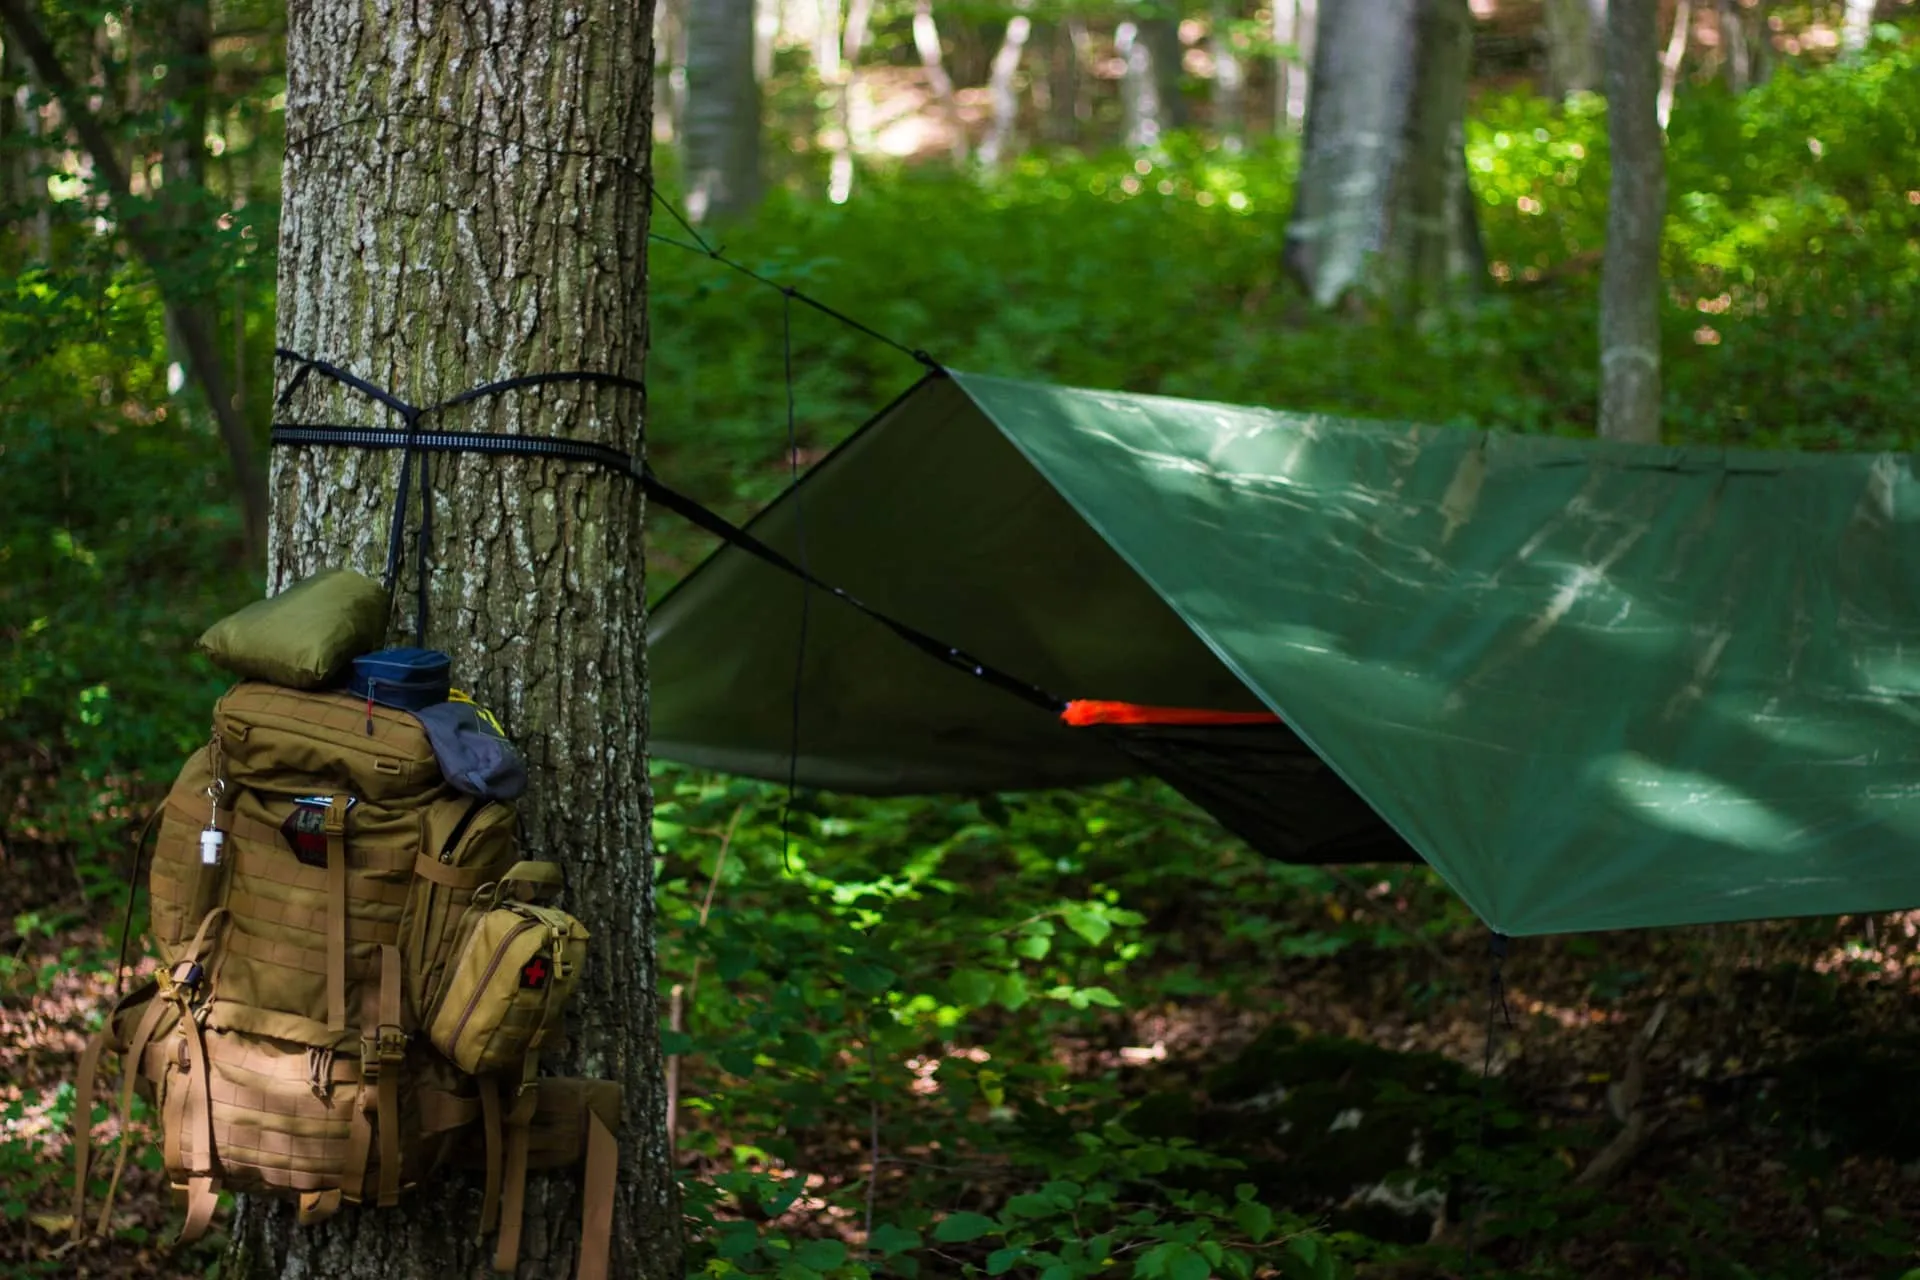
A good saw, a head torch and 10 metres of rope won’t make up for a poor spot. In bushcraft, the location determines whether your shelter stays dry, warm and safe. Take two minutes to check the terrain before touching the materials.
- Hazards overhead: look up. Avoid dead branches, leaning trees, split trunks and broken treetops (the ‘widowmakers’).
- Drainage: steer clear of hollows, gullies, stream beds (even dry ones) and spongy black soil. Look for a slight rise or a gentle slope that allows water to run off.
- Wind: identify the prevailing wind by observing the treetops, grass, or a bit of dust. Position the rear of the shelter facing the wind, keeping the entrance downwind.
- Ground: Choose firm, flat ground over a 2-metre area, free from protruding roots. Avoid smooth, sloping slabs, as you may slip at night.
- Animal tracks: give a wide berth to obvious trails, fresh droppings, burrows and areas where animals have been scratching. Do not camp on a well-trodden path.
- Distance from water: stay close enough to fill a water bottle without having to make multiple trips, but far enough away to avoid damp, cold mist and sudden flooding.
Quick ‘10-minute rain’ test
Imagine a heavy downpour lasting 10 minutes. Where does the water flow, where does it pool, and where can you stretch a ridge line without water running down it? If you spot a natural gully 1 or 2 metres away, choose a different spot.
Also aim for efficiency. A site with two well-spaced trees (3 to 5 m apart) and easy ground anchors will save you time. This is one of the reasons why, at Wildhartt, the guides inspect the terrain before bringing out the rope.
What natural materials should you gather and how should you arrange them?
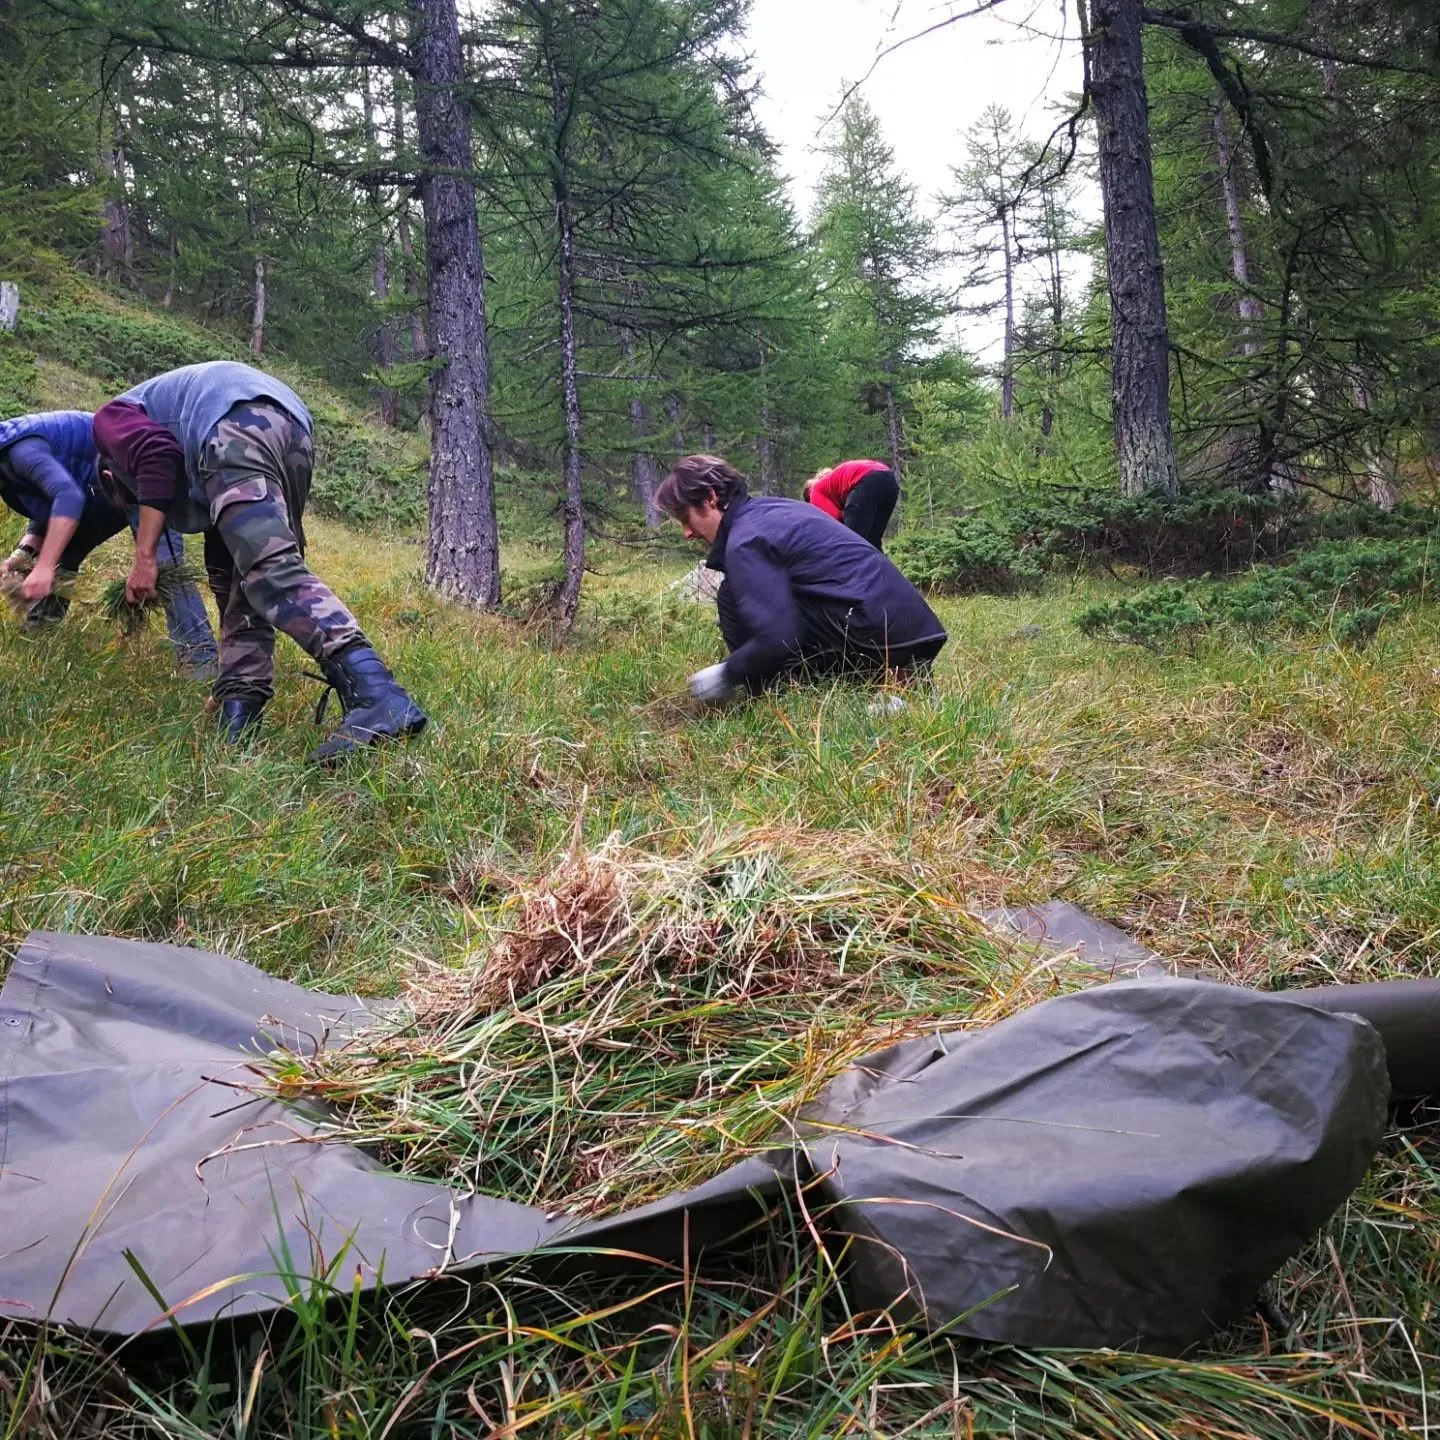
Two well-spaced trees provide the structure, but natural materials make the difference between a ‘quick-and-dirty’ bushcraft shelter and one that keeps you dry. In bushcraft, start by gathering what saves you hours of cutting: poles already on the ground, dry foliage, fallen bark, stones and mineral soil.
Collect by category, with a clear purpose for each pile:
- Structure: straight poles (diameter from wrist to forearm), Y-shaped branches for supports, short sticks for struts. Use dead wood from the ground that is solid and rot-free.
- Covering (roof): sheets of fallen bark, large leaves, dry ferns, small, highly branched twigs (such as coniferous ones) to ‘seal’ any gaps. The heavier the rain, the more you should look for materials that overlap like roof tiles.
- Insulation (floor): a large volume of dry litter, such as dry grass, dead leaves, pine needles, and small twigs piled up like a mattress. Make sure it’s thick, otherwise the ground will draw your body heat away.
- Anchors: heavy stones, sharpened stakes, exposed roots, stumps, natural forks, and fallen tree trunks to secure a tarpaulin or ridge line.
Organise your work area like a workshop: set up a ‘structure pile’ where you’ll be erecting the ridge pole, a ‘floor pile’ on the sleeping side, and a ‘roof pile’ under cover if possible (even under a jacket or poncho). Keep long pieces parallel to each other to avoid trampling on them and breaking them.
Quick sorting to save 15 minutes
- Strength test: bend each pole slightly; if it creaks or bends too much, set it aside.
- Standardise: 2 ‘main’ poles, 6 to 10 ‘secondary’ poles, then smaller ones to fill in the gaps.
- Preserve the site: do not break living branches, avoid tearing off moss, and gather widely and lightly rather than sparsely and destructively.
How to build a bushcraft shelter in 60 minutes (step by step)
Your ‘structure’, ‘floor’ and ‘roof’ piles should already be ready. In bushcraft, the 60 minutes are saved through the order of the steps, not through brute force. The quickest and most forgiving design is still a lean-to or A-frame tarp, depending on the wind.
- Minutes 0–5: lay the tarp on the ground, identify the ridge (peak) and the entrance. Choose two solid anchor points (trees, stumps, stable rocks) 3–5 metres apart.
- Minutes 5 to 12: Tension the ridge line. Tie a clove hitch on the first tree, thread the rope through, tension it, and secure it to the second tree with a tension knot.
- Minutes 12 to 20: Attach the tarp to the ridge line (using loops, carabiners or simple half-hitches). Centre it to ensure a steep slope on the rain side.
- Minutes 20 to 30: Stake down the two windward corners first. Use tent pegs or sharpened stakes driven in at a 45° angle.
- Minutes 30 to 40: adjust the height. Lower the rear as much as possible, leaving just enough space to slip in and turn over.
- Minutes 40 to 52: insulate the sleeping area. Lay down a thick layer of dry material (dead leaves, pine needles, dry ferns), then place thin branches underneath if the ground is damp.
- Minutes 52 to 60: add two ‘water drops’ to the ropes (a small piece of string or a simple knot) and store the rest in a dry place under the roof.
Essential knots (field version)
- Capstan knot: a quick tie around a tree, easy to adjust.
- Taut-line hitch: for adjusting the tension on a guy rope, useful when the tarp sags in the rain.
- Half-hitch: secures a fastening, provides a neat finish to a rope.
Final check: shake the ridge line – nothing should slip. Check the slope; water must run off without pooling. Test the anchors by pulling on them with your body weight; if a peg moves, re-drive it deeper or change its angle.
How to protect your shelter from the cold, rain and wind (and the mistakes that ruin everything)
Your ridge pole is secure and your anchors won’t budge. The real test in bushcraft is what happens after 20 minutes of gusts, an hour of drizzle, or a cold night. The most effective improvements can be made with just a few simple steps, in the right places.
The 5 quick improvements that make all the difference
- Insulate the floor before anything else: place 10 to 15 cm of dry bedding (leaves, grass, pine needles, small twigs) under your sleeping mat. If you have a foam mattress (Therm-a-Rest Z Lite), lay it on top. A damp ground steals heat faster than the air.
- Give the roof a steep pitch: tighten the ridge line and lower the windward side. If water can pool, it will eventually seep in or cause the tarpaulin to sag.
- Add a ‘water drip’: on each cord that goes under the tarp, tie a small knot or attach a piece of string. The water will drip off before it reaches the inside.
- Build a windbreak: pile up branches, ferns, stones and logs behind the shelter, on the side facing the prevailing wind. Create a low, dense wall, not a tall screen that catches the gusts.
- Maintain ventilation: leave a high opening or a small gap on the side opposite the wind. This reduces condensation, which soaks your sleeping bag and makes you cold.
To combat the cold, reduce the internal volume. A shelter that’s too big doesn’t warm up properly. To protect against rain, avoid eaves that drip onto your sleeping area; position yourself 20 to 30 cm away from the edge of the roof.
There are some common mistakes that ruin everything: sleeping directly on the ground, pitching a roof that’s too flat, positioning the opening to face the wind, using pegs that are too short, or setting up under dead branches. If you spot a hazard overhead or poor drainage, move to a different spot even if “it looks convenient”.
There’s also a simpler option than setting up camp: if a storm is approaching, if the wind becomes dangerous, if you’re exhausted, or if the forest lacks dead wood, look for a safe mountain hut (an official shelter, a building, a vehicle) or leave the area. On a Wildhartt-led guiding trip, a certified guide will make a quick decision on this point. When out on your own, get into the same habit: take a break, have a drink, look at the trees, then decide.

Find your next adventure
Browse curated expeditions matching the categories of this article and start planning your next trip.
Find your dream adventure
 Find your dream adventure
You might also like these adventures …
Hand-picked to echo the spirit of this article.






More to discover
Keep exploring with these pages and stories picked for you.
Packraft trail: the ultimate guide to getting started in a day
Discover the packraft trail: the ultimate guide to hiring, choosing the right kit and setting off with confidence from your very first day on the water.
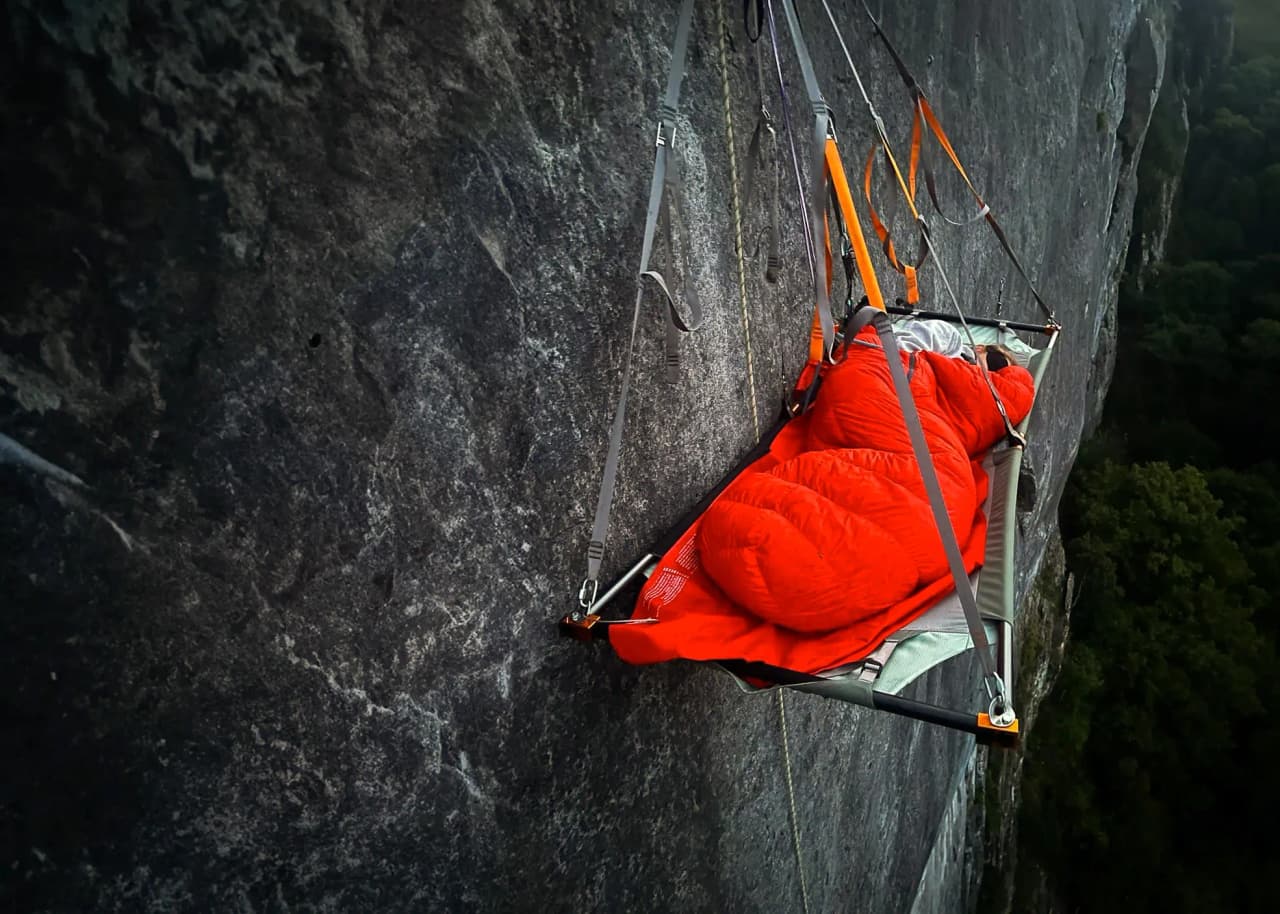
What to pack for a portaledge overnight at Freyr
A focused guide to what to pack for a portaledge overnight at Freyr, aligned to the 2‑day program from May to September with real trade‑offs.

Choosing the right mountaineering boots to conquer the summits safely
Find out how to choose your mountaineering boots: comfort, fit, crampons... the exact criteria for avoiding mistakes.
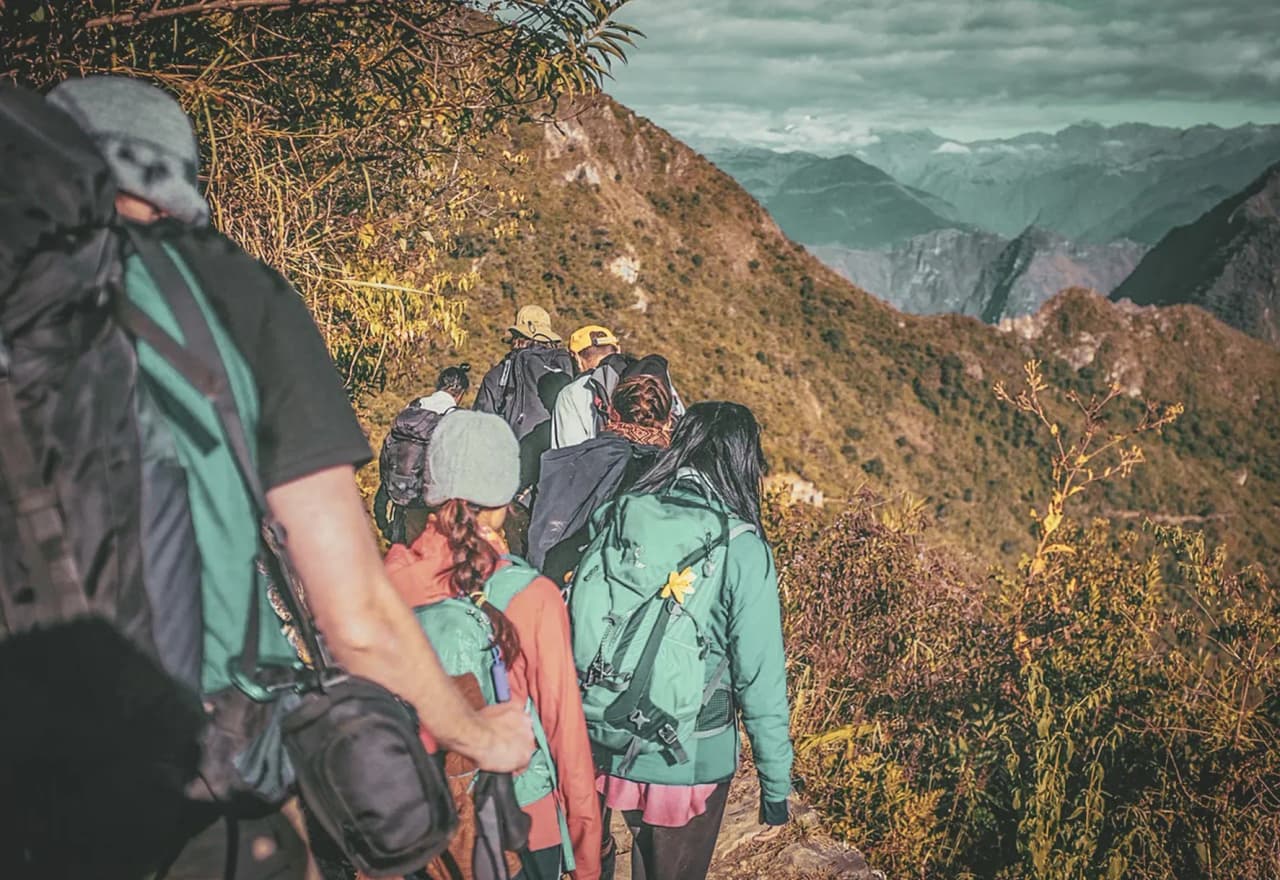
Tour du Queyras in 5 days: how to prepare your legs for the GR58
An 8-week plan for the GR58: hut nights at 2580 m, an optional summit at 3025 m, and legs ready for the descent into the wild Bouchouse valley.
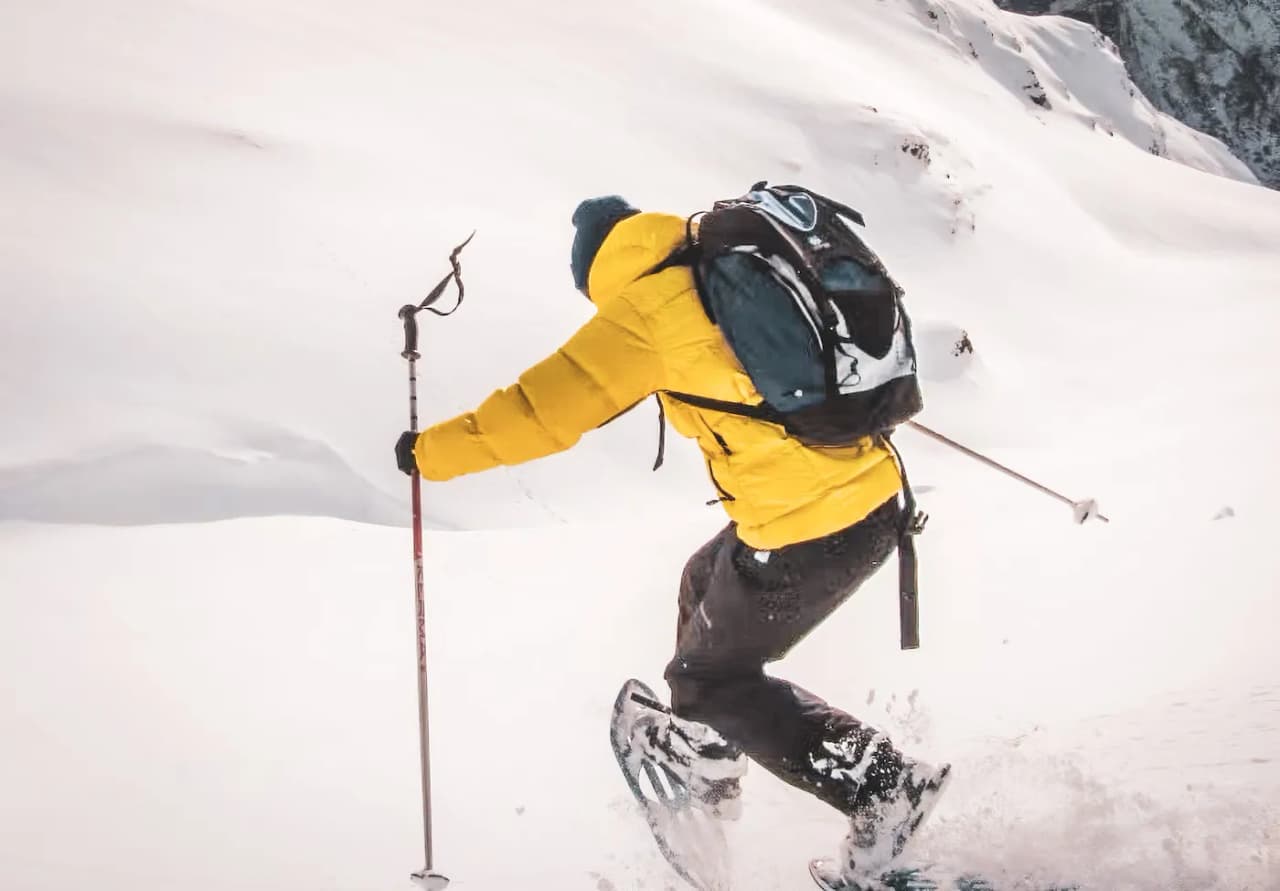
Snowshoeing Checklist: What to Pack for a Safe Day Out
Prepare for a snowshoe hike with a practical checklist covering clothing, safety gear, food and navigation.
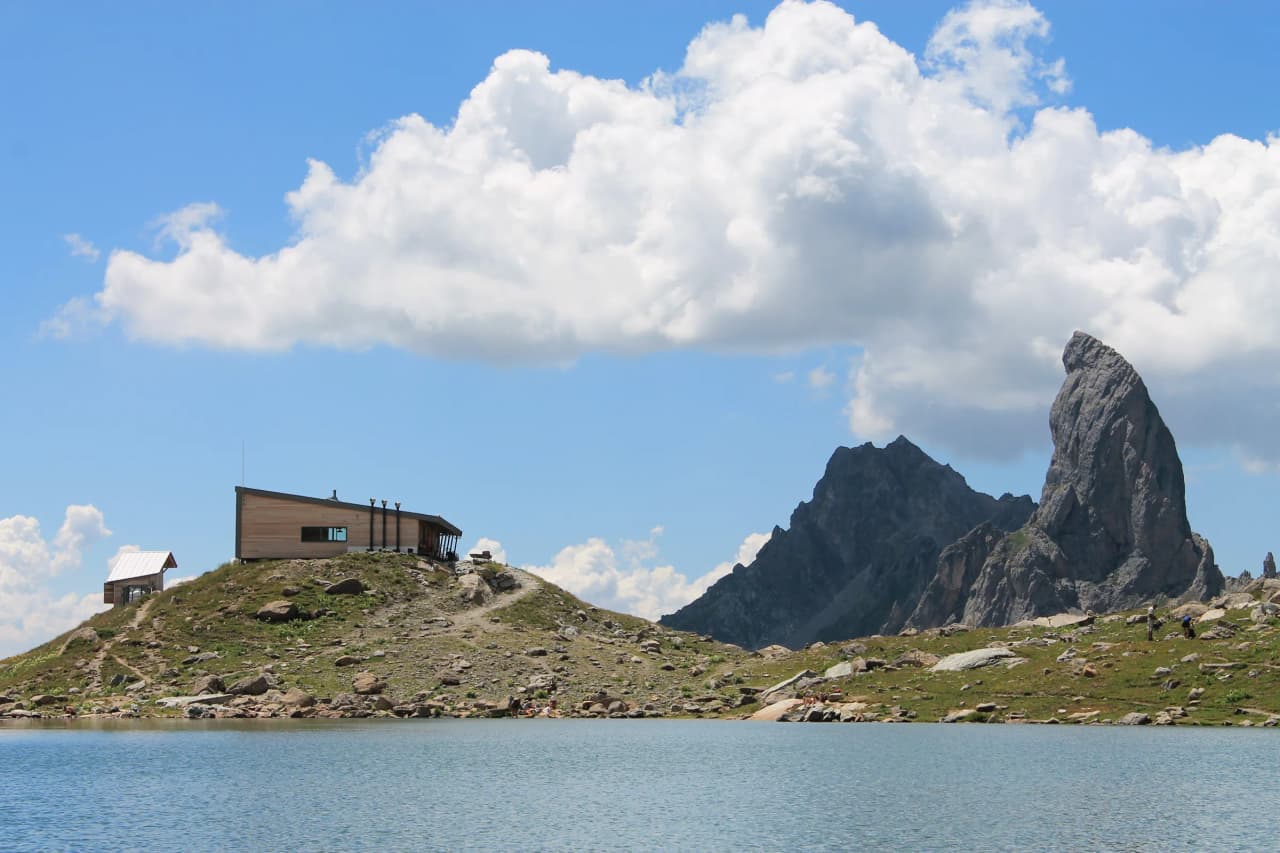
5 secluded mountain huts in the Alps where you can get away from it all this summer
Discover 5 secluded mountain huts for hikers: the Willy Jervis Hut, the Col de la Vanoise Hut, the Vallanta Hut, the Presset Hut and the Femma Hut.
