Hiking meals: our simple, lightweight ideas, tried and tested on long hikes
 By isabelle
Discover simple, lightweight and affordable hiking meals: 3/5/7-day meal plans, a comparison of freeze-dried vs home-cooked food, and energy tips.
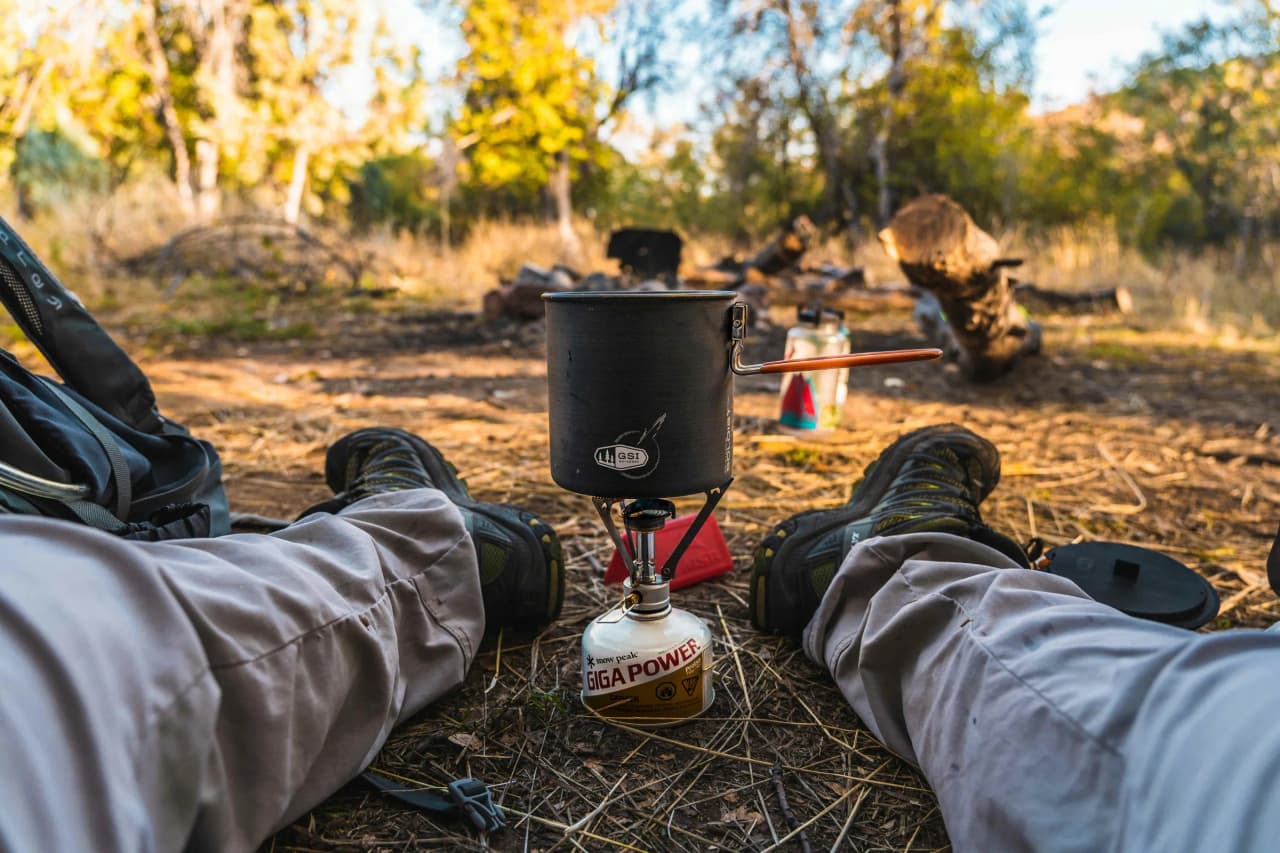
You know that moment when, at camp, you open your rucksack and realise you’ve either eaten too little or carried too much weight for no reason. It’s rarely a question of ‘good recipes’. It’s a question of practicalities: duration, hot water (or not), and the weight you’re actually prepared to lug around.
Here, we’re getting straight to the practical stuff: a simple method for choosing your meals based on your trip (weekend, multi-day hike, with or without a stove), a checklist for portioning and packing in 30 to 60 minutes, and tips for eating light whilst keeping your energy up on the ascent. You’ll also come away with ready-to-use 3-, 5- or 7-day meal plans, easy to adapt to your appetite and the elevation gain.
We’ll also get our hands dirty: when a freeze-dried meal is worth the price, what LOWPACT, MX3 Nutrition and Real Turmat in terms of calories and taste, and how to keep costs down with a mix of supermarket buys and home-made food from your dehydrator, without spending your evenings in the kitchen.
Which hiking meals should you choose based on duration, weight and budget?
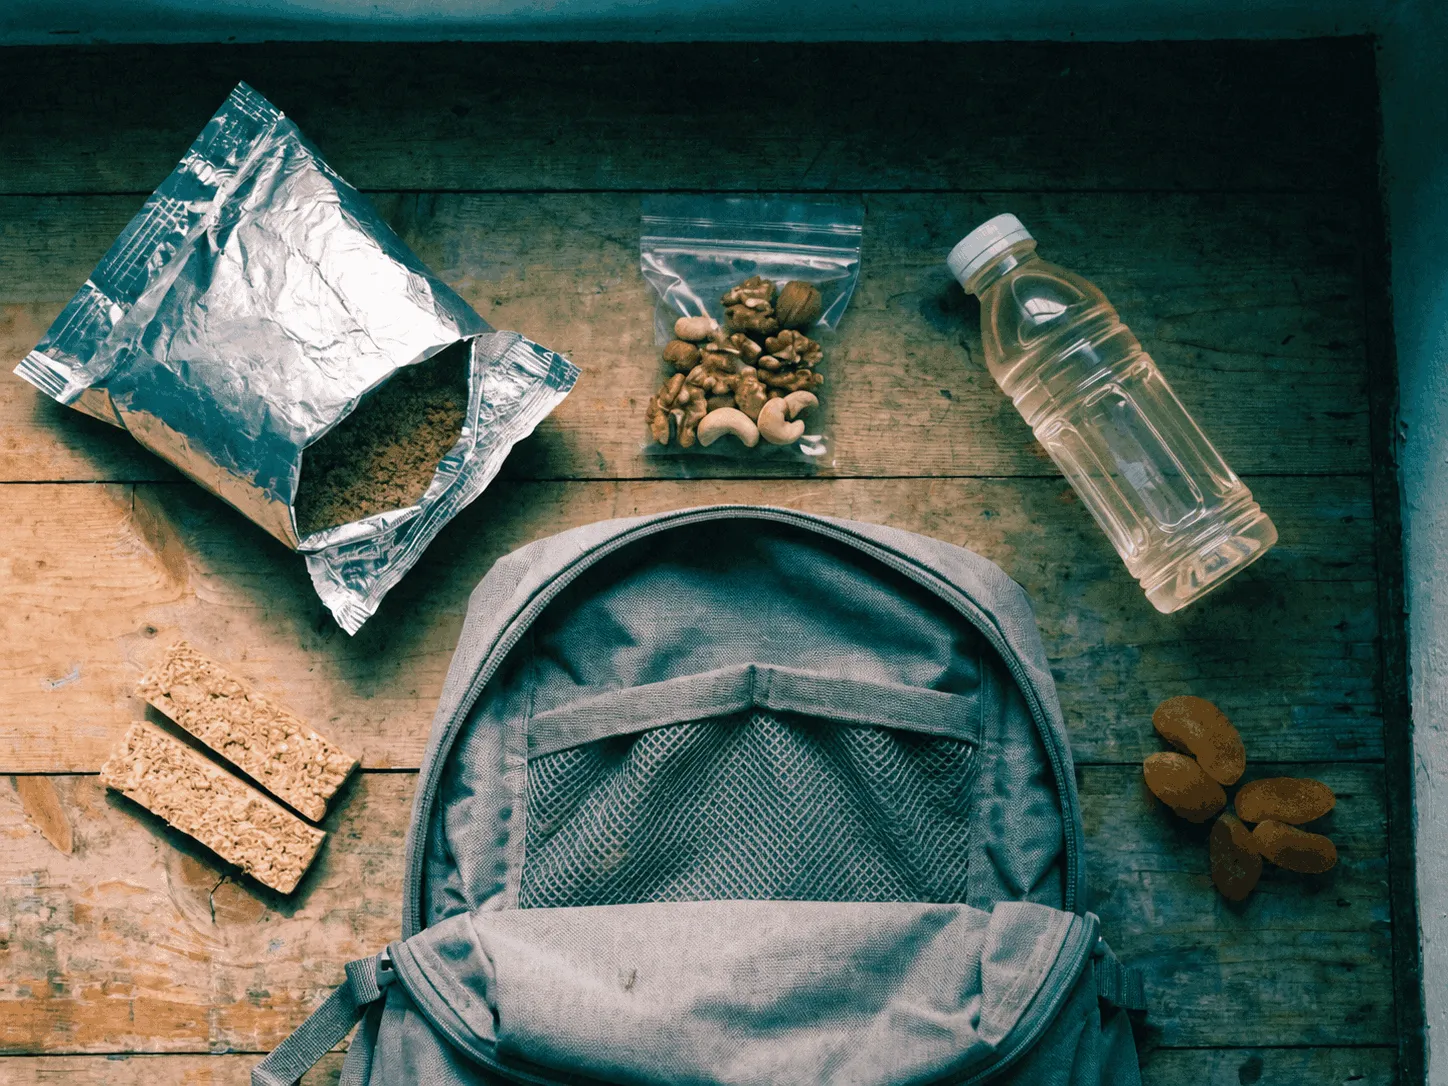
The right hiking meal depends less on your personal tastes than on three simple factors: duration, access to hot water, and the weight you’re willing to carry. If you choose the right format from the start, you’ll avoid the classic ‘too heavy, too expensive, not filling enough’ combination.
Use this 30-second decision-making method:
- Duration: 1–2 days (weekend) or 3 days or more (multi-day hike).
- Hot or cold: can you boil water, or are you eating uncooked food?
- Budget: you pay for convenience (freeze-dried) or you optimise your spending (supermarket, home-cooked).
Choosing your hiking meals based on the scenario
Weekend, with a camping stove: opt for one ‘comfort’ hot dinner and cold lunches. A freeze-dried meal can be worth the price if you’re returning late, it’s cold, or you want to minimise washing-up. Supplement with energy-dense options: couscous, instant mashed potato, soup, hard cheese, nuts.
Multi-day hike (3–7 days), with a camping stove: opt for dry rehydrated meals and high-calorie snacks. Alternate between a freeze-dried meal every 2–3 evenings and ‘grocery shop’ dinners (ramen + tinned tuna, couscous + olive oil, mashed potato + sausage). This keeps your spirits up without breaking the bank.
No cooking (no stove): base your hiking meals on ready-to-eat, non-perishable foods. Examples: wraps, tortillas, peanut butter, sardines, hummus powder rehydrated with cold water, ‘overnight’ oats (cold water), energy bars, dried fruit. Eat more salt in hot weather and more fat in cold weather – that’s what keeps you feeling full.
Weight vs budget: the simple rule is that the lighter it is, the more expensive it is. If you’re carrying a minimalist rucksack or setting off with a group being guided (for example, on a Wildhartt trek), treat yourself to something special for 1–2 key meals, then save money on the rest with shop-bought dried foods. For ideas on what to pack depending on the type of trip, have a look at Our Adventures.
How to prepare your hiking meals in advance (ultra-simple checklist)?
If you’re going for convenience with one or two meals, make the most of the rest with quick prep. A well-portioned and well-packed hiking meal prevents your rucksack from bulging, avoids unnecessary leftovers, and ensures you don’t end up with a meagre dinner after a long day. Good news: with a set method, you can get it all sorted in 30 to 60 minutes.
The aim: to prepare ready-to-eat portions, with a minimum of washing-up and minimal bulk.
- List your meals by day: breakfast, lunch, dinner, snacks. Note ‘hot’ (to be reheated) or ‘cold’ (no cooking required) for each meal.
- Do your shopping ‘dry goods first’: rolled oats, semolina/couscous, noodles, instant mashed potato, red lentils, dried fruit, nuts, chocolate, hard cheese, salami. Add 1 or 2 freeze-dried meals if you use them.
- Portion everything out: aim for one sachet per meal. A simple rule of thumb: make dinner more substantial than lunch. Add a source of fat (olive oil in a mini bottle, peanut butter) to boost the calorie content without adding weight.
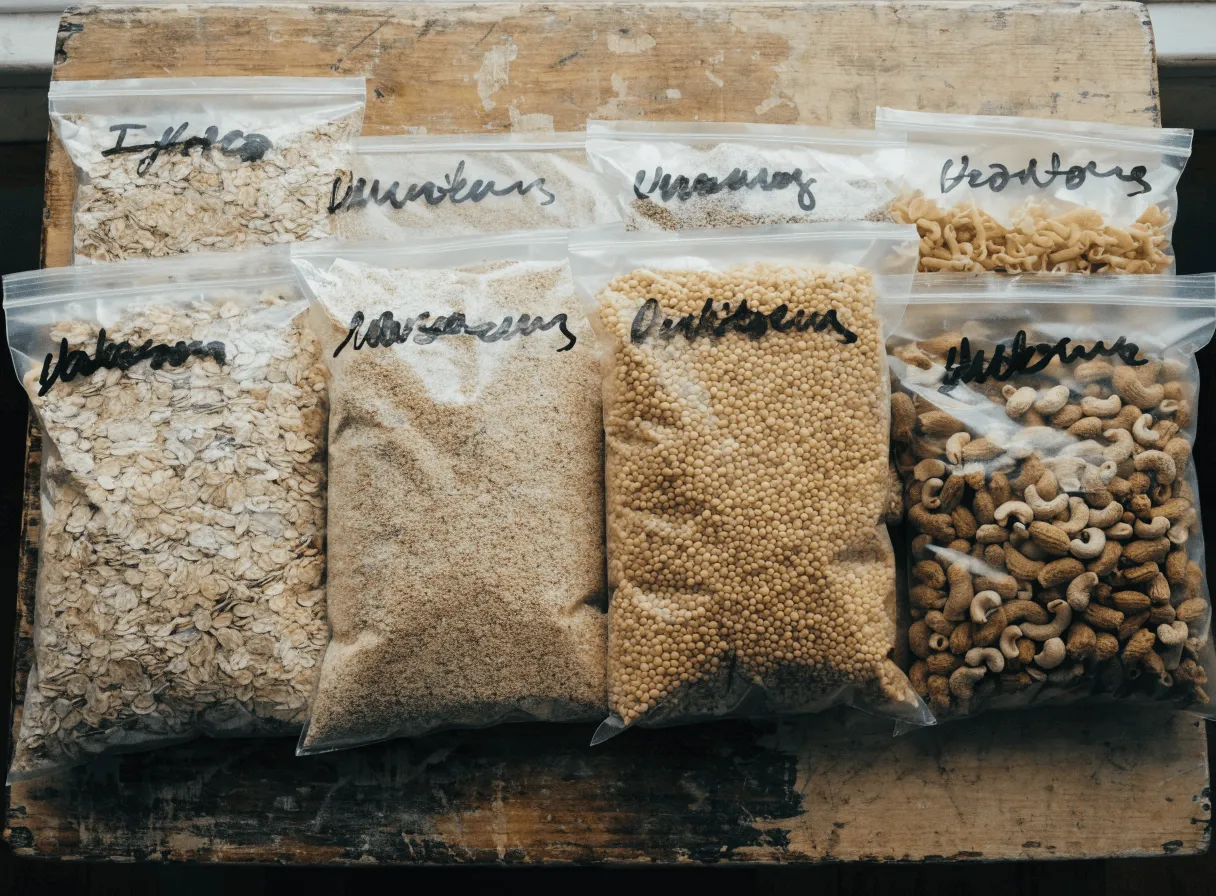
- Pack into “meal kits”: one zip-lock bag per meal (such as a Ziploc). Squeeze out the air and flatten the bag. For crumbly foods (crisps, biscuits), keep the original packaging or use a lightweight, rigid box.
- Label them: using a marker pen, write the day + meal + serving method (cold/hot) + amount of water if needed (e.g. “Dinner Day 2, hot, 350 ml”).
- Add a mini seasoning kit: salt, pepper, chilli, herbs, stock cubes. A small sachet can turn a bland meal into a proper dinner.
- Waste management plan: remove any excess packaging and combine portions. Bring one sturdy ‘rubbish’ zip-lock bag to repack everything and keep it tidy.
A simple tip to save time on hiking meals
Prepare a recurring “base” for 2 or 3 dinners (semolina + spices + dried protein), then vary it with a different topping (cheese, sausage, nuts). On a guided trek, this system prevents mistakes and makes it easier to share the load.
Freeze-dried meals on hikes: advantages, limitations and alternatives
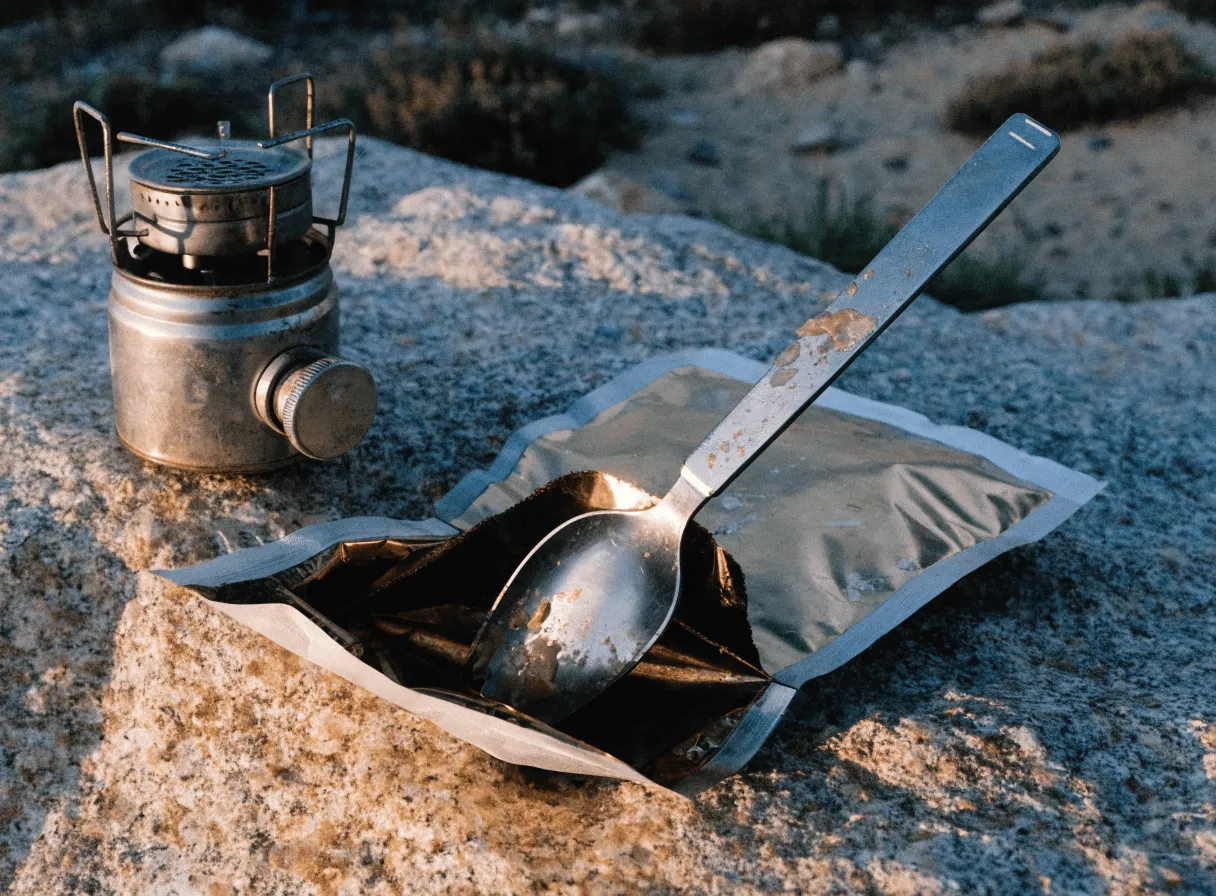
When you want a ‘base + topping’ dinner without having to think too much about it, freeze-dried hiking meals save time and prevent mishaps. One sachet, some hot water, 8 to 12 minutes, and you’re ready to eat. It’s also the simplest option for treks where the group arrives late at the campsite, or when a guide insists on a short break and minimal washing-up.
A freeze-dried meal is particularly worthwhile in four situations:
- Cold, rain, tiredness: you want a guaranteed hot dinner.
- High altitude or a poor appetite: ‘strong’ flavours and salty food go down better.
- Tight logistics: you’re keeping a close eye on water, gas and time.
- Minimal weight: you’re willing to pay more to carry less.
The classic pitfalls of freeze-dried food
The cost adds up quickly if you eat them every evening. Save them for one or two ‘comfort’ dinners, then switch to dry meals from the supermarket.
You won’t feel as full if the dish is low in fat. Many sachets rely heavily on carbohydrates. Add 1 to 2 spoonfuls of olive oil, a portion of hard cheese, or a handful of nuts to keep you going until morning.
The salt content can be high. In hot weather, this helps. If you retain fluid or have a sensitive stomach, alternate with less salty meals and drink plenty of fluids. The WHO’s general recommendations on sodium provide a good guide: WHO, salt reduction.
Digestibility varies depending on the brand and ingredients (onion, garlic, milk, chilli). Try it at home before a week on the road.
Practical and often more economical alternatives: ramen + tinned tuna or sardines, couscous + powdered soup + olive oil, instant mashed potato flakes + sausage, oat flakes + powdered milk + peanut butter. For a hiking meal without a stove, consider tortillas, powdered hummus mixed with cold water, and dried fruit.
Which brands of food should you choose for hiking?
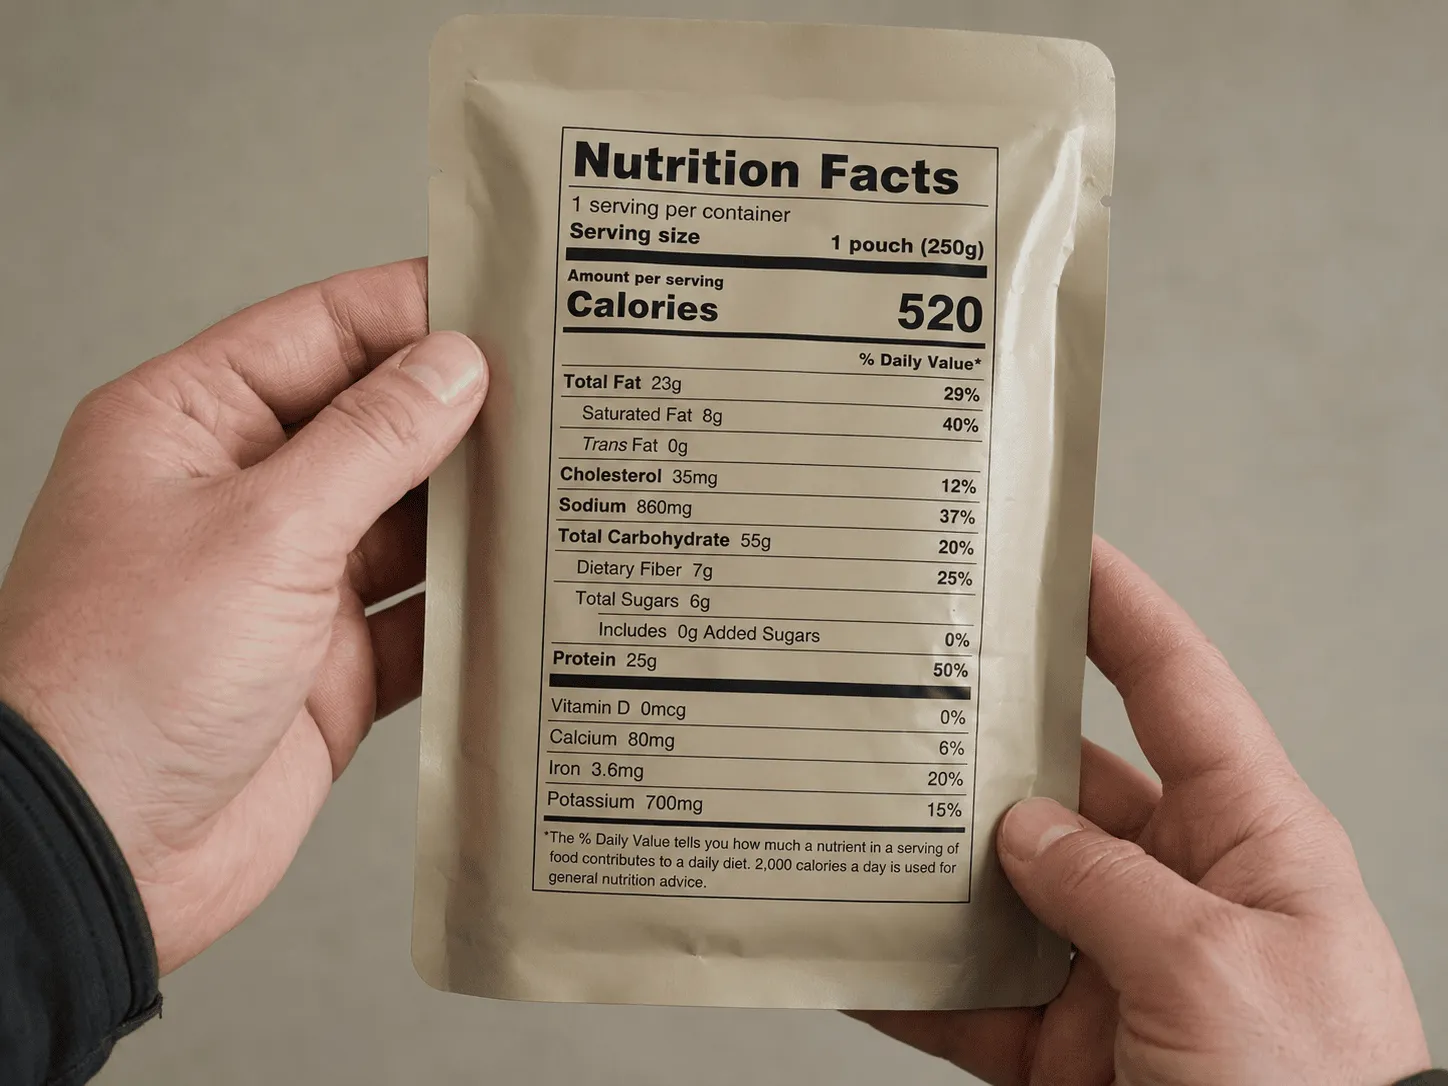
When you swap ‘ramen and tinned tuna’ for a branded meal, you’re mainly paying for convenience: a sachet, a recipe, and a clean preparation process. To choose a brand of hiking meal (and avoid disappointment), always compare the same criteria: calories per 100 g (caloric density), price per portion, taste, ease of preparation (time, washing-up), and tolerability (salt, spices, digestion). For more real-world reviews, see the Blog.
| Brand | Who it’s best suited for | Strengths | Things to watch out for |
|---|---|---|---|
| LOWPACT | Hikers looking for simple, regular meals that are easy to portion | Convenient sachets, fairly ‘traditional’ flavour profiles, easy to fit into a 3–7-day plan | Check the energy density on the label |
| MX3 Nutrition | Sporty hikes, when you need a quick dinner after a tough day | Wide range of options, prepared directly in the sachet – handy when you’re trying to minimise washing-up | Sometimes high in salt – try it at home if you’re sensitive to it (thirst, water retention) |
| Real Turmat | Prioritises flavour, ideal for cold-weather outings, a ‘pick-me-up’ meal when camping | Solid reputation for perceived quality and flavour; good when motivation matters | Often more expensive; best saved for special evenings |
How to compare products quickly in-store (without the hassle)
Look at the label before the marketing. A good hiking meal has a high calorie density (calories per 100 g), a portion size that matches your appetite, and a list of ingredients that you digest well.
- Calories per 100 g: the higher the figure, the more ‘useful’ energy you’re carrying.
- Calories per portion: if it’s low, add olive oil, cheese or nuts.
- Sodium/salt: handy when you’re sweating, a nuisance if you get thirsty at night.
- Protein: useful when travelling, especially if you’re on the go for several days in a row.
- Spices and lactose: the main triggers of digestive discomfort.
A simple tip: try one or two meals from each brand before a long trek. On Wildhartt guiding trips, this habit helps you avoid the ‘inedible meal + no Plan B’ scenario when you’re far from a supply point.
Examples of ready-to-use menus for 3, 5 and 7 days
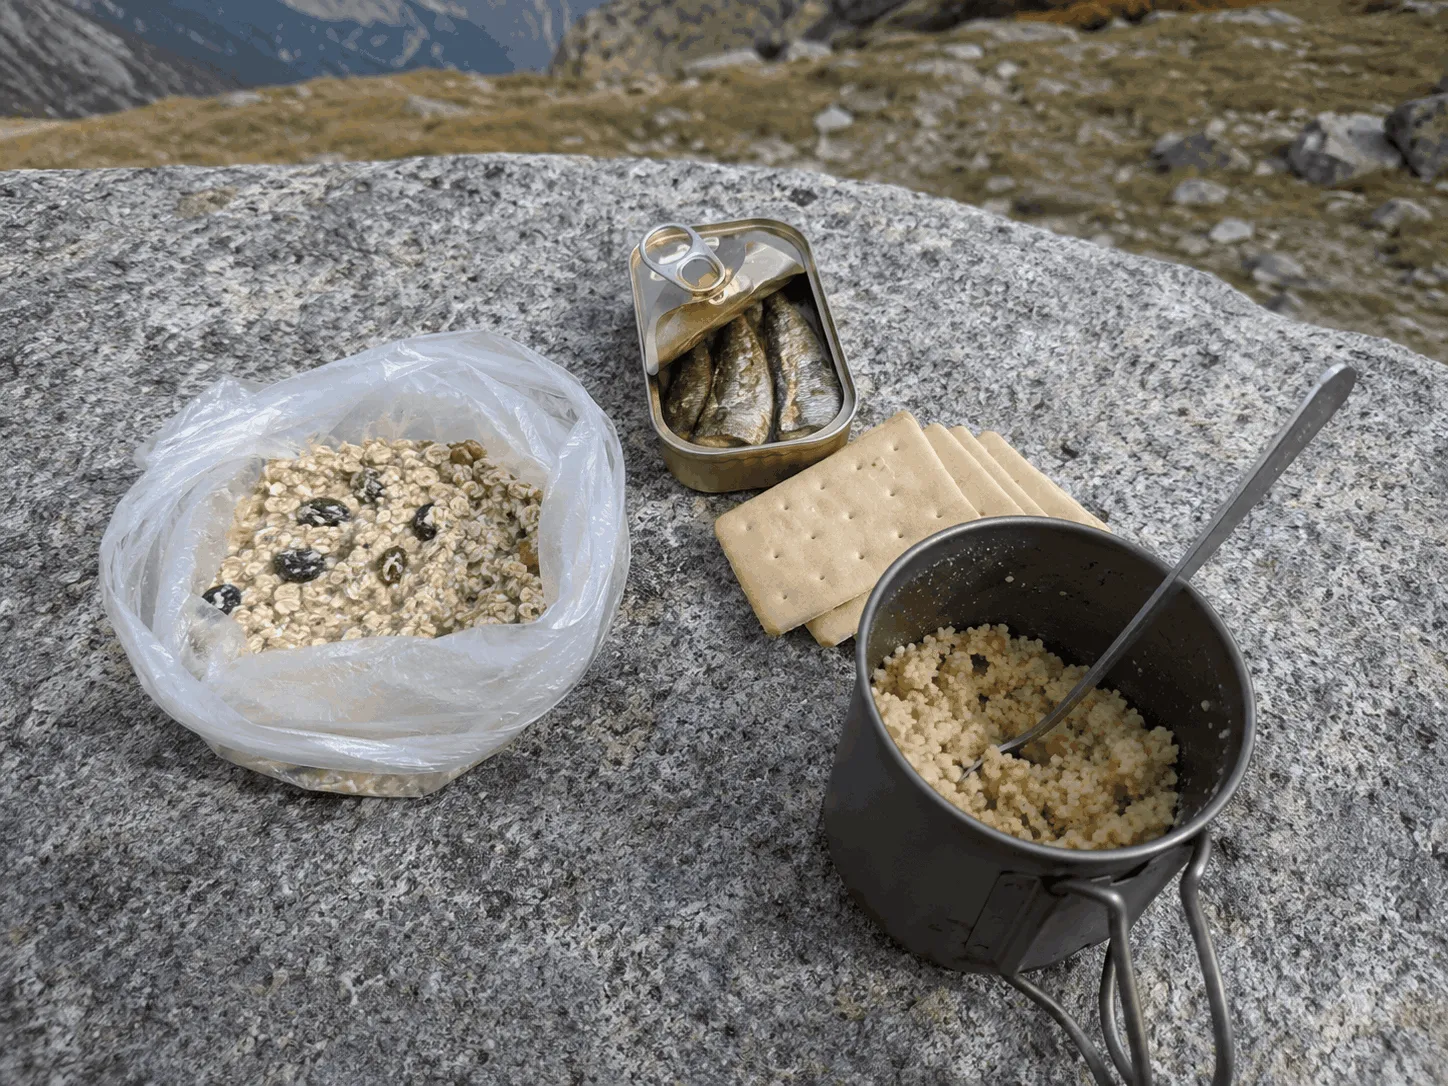
When a meal ‘doesn’t agree with you’, you have no plan B. These hiking meal plans prevent that: they alternate between dry meals, no-cook options, and one hot dinner when you have a camping stove. Adjust the quantities according to your appetite, body size and the elevation gain.
- Typical snacks (every day): 60–100 g of mixed nuts and dried fruit, 1 bar (Clif Bar, Nakd, Trek), 30–50 g of chocolate, 1 sachet of electrolyte drink (Nuun, ORS).
Ready-to-use hiking meal plans
3-day menu
- Day 1 Breakfast: porridge + powdered milk + raisins. Lunch (cold): tortilla + peanut butter + banana. Dinner (hot): couscous + powdered soup + olive oil + Parmesan.
- Day 2 Breakfast: muesli + powdered milk. Lunch (cold): crackers + sardines + hard cheese. Dinner (hot): ramen + tuna + sesame seeds.
- Day 3 Breakfast: porridge + cocoa powder + hazelnuts. Lunch (cold): wrap + hummus powder rehydrated with cold water. Dinner (if returning late): 1 freeze-dried meal tested in advance.
5-day menu (repeats D1–D3, then)
- Day 4 Breakfast: oats + peanut butter. Lunch: tortillas + salami or jerky. Dinner: instant mashed potato flakes + cheese + olive oil.
- Day 5 Breakfast: granola. Lunch: cold couscous (semolina + raisins + nuts, cold water). Dinner: red lentils + stock + spices (quick cook).
7-day menu (repeats Days 1–5, then)
- Day 6 Breakfast: muesli. Lunch: crackers + peanut butter. Dinner: soba noodles + miso soup + tuna.
- Day 7 Breakfast: porridge. Lunch: ‘leftovers’ wrap. Dinner: 1 freeze-dried meal or couscous, depending on how tired you are.
Quick vegetarian option: replace tuna/sardines/salami with rehydrated textured vegetable protein (TVP), roasted chickpeas, cheese or peanut butter. For a no-cook version, stick to tortillas + hummus powder + nuts.
Comparison table + ‘homemade’ tip using a dehydrator
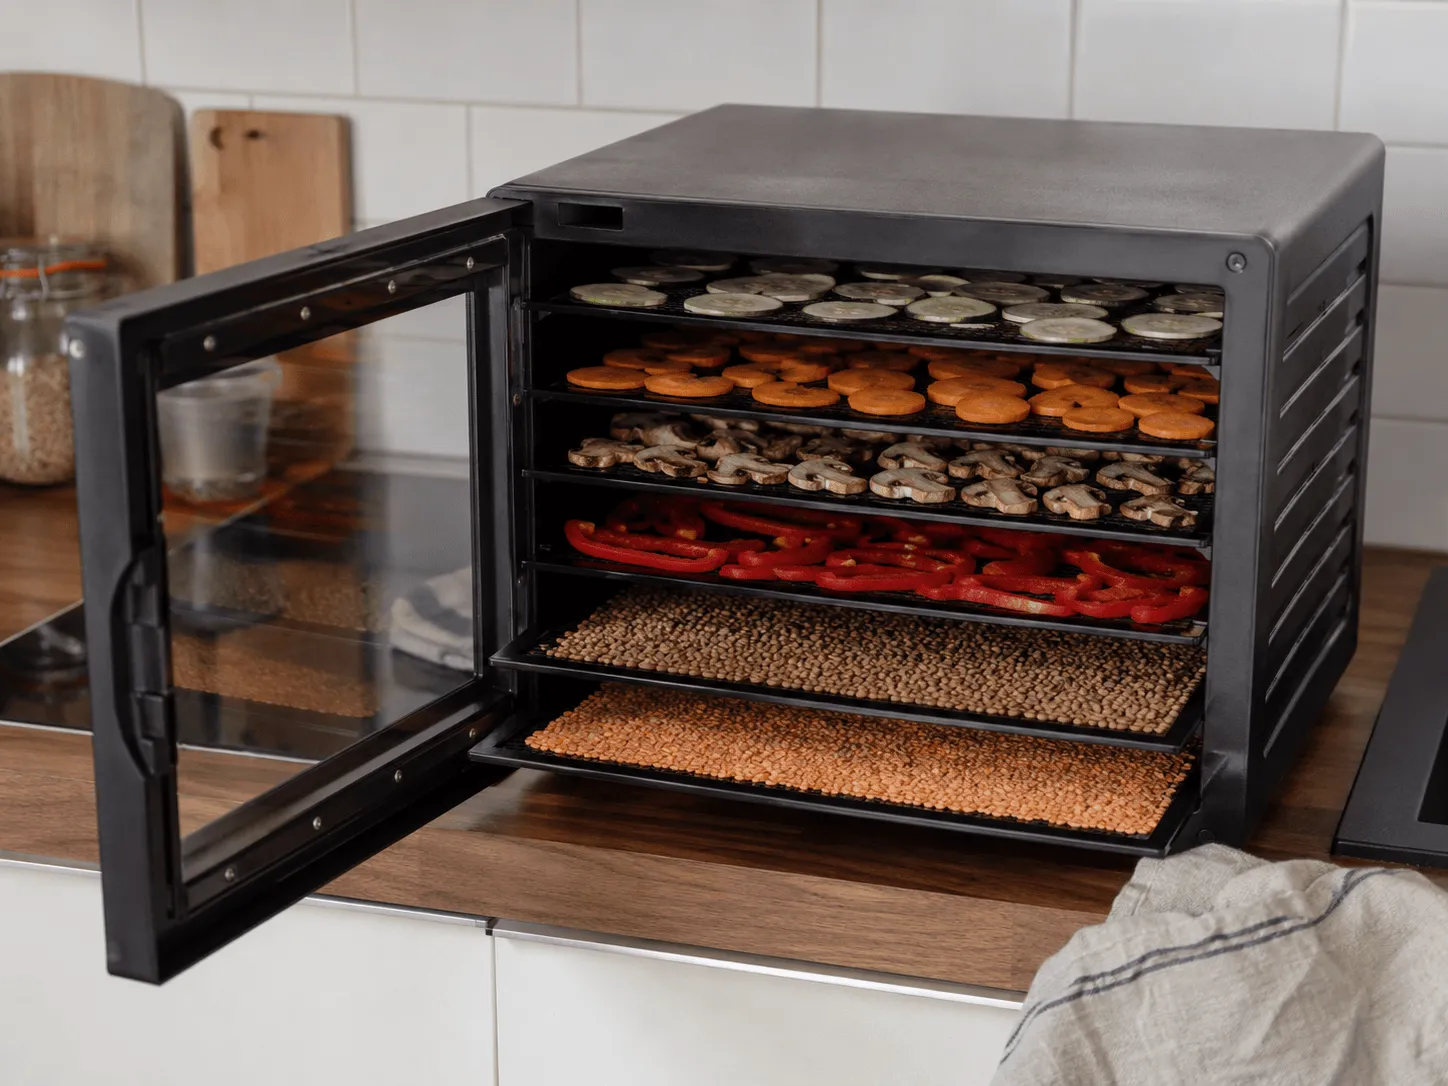
Between tortillas, hummus powder and TSP, you already have some effective options. The real benefit for your hiking meals often comes from a mix: 1 or 2 ‘comfort’ freeze-dried items, supermarket dried foods for everyday use, and homemade options when you want to reduce the cost per kilo without adding weight to your rucksack.
| Option | Weight in your rucksack | Price | Calories | Pre-trip effort | When it’s the best choice |
|---|---|---|---|---|---|
| Freeze-dried (LOWPACT, MX3 Nutrition, Real Turmat) | Very light | High | Variable, depending on density and portion size | Very low | Late dinners, cold weather, tight logistics, fatigue |
| Supermarket (semolina, ramen, instant mashed potato, tinned tuna, nuts) | Light to moderate | Low to moderate | Often very good if you add fat (oil, peanut butter) | Low | 3–7-day trek, tight budget, resupply possible |
| Homemade using a dehydrator | Very light | Low to medium (depending on ingredients) | Excellent if you manage fat intake and portion sizes | Medium to high | You’re often on the go and want to control flavour, salt content and digestibility |
Dehydrator tips: what works, and what’s best to avoid
A dehydrator is used to reduce weight without compromising on flavour. The best foods to dehydrate are those that dry quickly and rehydrate well.
- Priority items to dehydrate: homemade tomato sauces, cooked vegetables (carrots, courgettes), mushrooms, onions, herbs, fruit (bananas, apples), very lean minced meat (cooked and rinsed), cooked red lentils (spread in a thin layer).
- Things to avoid (a ‘contrarian’ approach): very fatty dishes (cheese, pesto, fatty cured meats). Fat doesn’t dry out, goes rancid more quickly, and ruins the shelf life. Also avoid homemade scrambled eggs if you don’t have perfect control over hygiene and storage.
The simplest method: dehydrate a ‘sauce + vegetables’ base, then add the fat when you’re out and about (olive oil in a mini bottle, peanut butter, nuts). You’ll gain useful calories and retain a clean flavour. If you’re interested in the subject of equipment and shelf life, see Sustainability.
Immediate action: choose your meal format for your next trip, then prepare three identical ‘dinner’ sachets (base + seasoning) and three different toppings this evening. You’ll have a reliable, lightweight system that’s much cheaper than seven evenings’ worth of freeze-dried meals.

Find your next adventure
Browse curated expeditions matching the categories of this article and start planning your next trip.
Find your dream adventure
 Find your dream adventure
You might also like these adventures …
Hand-picked to echo the spirit of this article.



More to discover
Keep exploring with these pages and stories picked for you.
Bivouac cooking: easy recipes for the great outdoors
Discover easy and tasty bivouac meal ideas in this article. Lightweight recipes specially designed for hiking camping and outdoor cooking adventures
Hiking: the best food to take with you
When hiking, choosing the right food to take with you can help you feel good about tackling any trail.
Devoluy or elsewhere? Pick your ideal alpine trek
Compare four similar alpine itineraries by effort, terrain, shelter style and season to choose between the mineral Devoluy and close alternatives.
Tour du Queyras in 5 days: how to prepare your legs for the GR58
An 8-week plan for the GR58: hut nights at 2580 m, an optional summit at 3025 m, and legs ready for the descent into the wild Bouchouse valley.
Bushcraft: building a shelter in the forest in under an hour
Discover the exact method for building a shelter quickly and safely in the forest: choosing a spot, knots, insulation and mistakes to avoid in bushcraft.
Packraft trail: the ultimate guide to getting started in a day
Discover the packraft trail: the ultimate guide to hiring, choosing the right kit and setting off with confidence from your very first day on the water.
